Motion Pro

Improve your professional learning curve through unforgettable practice in which you’ll learn how to work on complex projects. You’ll explore all secret techniques in order to become a real motion pro.


Improve your professional learning curve through unforgettable practice in which you’ll learn how to work on complex projects. You’ll explore all secret techniques in order to become a real motion pro.

This course will bring you to the next motion design level. We’ll cover almost all types of animation from 2D, combining it with AE expressions, to 3D, using Xpresso in Cinema 4D. All the animations will be united into complete video scenes. Moreover, we’ll share with you project files, in which we’ve used frame-by-frame animation along with modern 2D and 3D design.
You’ll get equipped for your future complex projects whether you plan to freelance or work in a studio. We’ll teach you the main principles and rules of organizing projects and creating the correct structure for them. Also, we’ll demonstrate to you custom scripts that help us get rid of some routine work and facilitate the entire process.
The course isn’t aimed at showing you the only correct way to work on projects, but its purpose is teaching you good practices and techniques to form your own unique approach to projects wherever you work.

You’ll get dozens of free custom scripts to optimize your workflow. These will be simple scripts for adjusting the stroke style or the parameters of a group of compositions and layers at once. Also, they will include more complex ones for creating advanced character limbs and parametric waves, for animating and combining a group of layers for animation based on expressions.
We’ll teach you not only how to use them, but also how to modify them so that you do not adapt to them, but they adapt to you.

Practicing on the example of the finished video will bring your skills to the next level. The course is created for experienced animators and motion designers. So, we won’t dwell on boring elementary things to cover the most advanced and interesting techniques instead.

We’ll demonstrate to you how to create animation by following a traditional approach, that is, with the help of keyframes, and a procedural approach based on expressions and mathematics. We took the whole spectrum from pure 2D, 2D stylization to 3D and vice versa, and 3D animation in After Effects and Cinema 4D Light. Also, in the course we will have a look at how to integrate animation from Cinema 4D into After Effects without intermediate rendering, and how to stylize 3D animation to our project style.
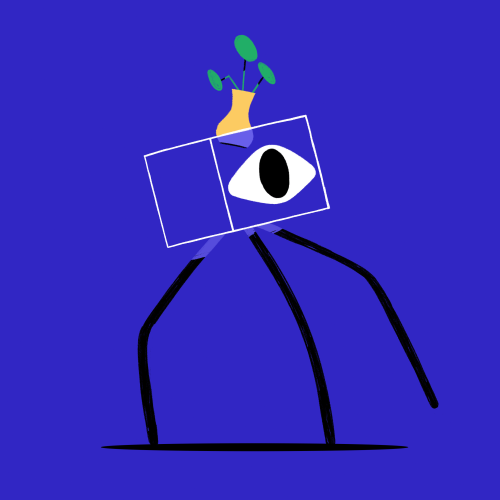
In the course, we’ll show you several options for creating animation for each style: from the simplest manual way with keyframes to complex rigs with functions and algorithmic animations, which are easy to adjust at any stage of production.

You’ll learn about a complete production pipeline of an animation project: from the beginning of project design, its development and optimization for work in 4K resolution, to final rendering.
11 lectures / 7h+
We will start by organizing the material and thinking over the architecture of the project. Then we’ll optimize and import illustrations. After that, we’ll show you scripts that simplify the process of organizing the project.

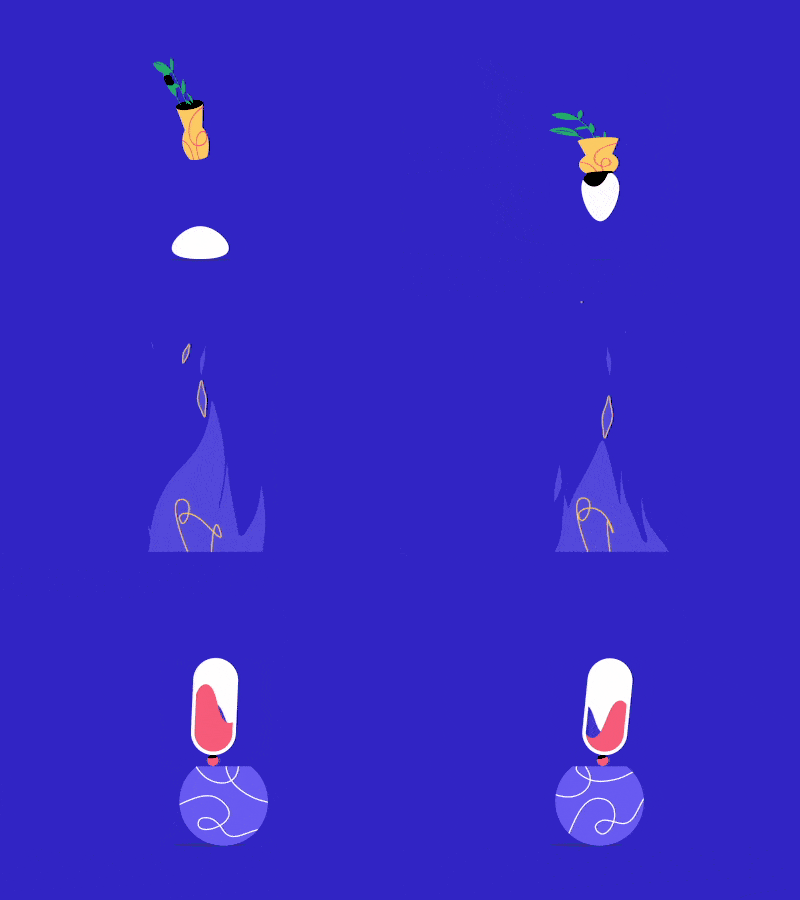
We’ll start designing the project with 2D animations of plants, fire and water. For creating such animations, we’ll use fresh and flexible techniques. Also, you’ll learn how they can be automated with the help of expressions. As a result, you’ll be able to control the animation of all layers and parameters in a few clicks.
In this lesson, we’ll cover a few key techniques for simulating 3D animation, using regular 2D layers. We’ll take into account all their advantages and disadvantages. We will use expressions to create a rig for such animations in order to remove some of the manual work and make them as flexible as possible. Then we’ll style it with effects to make the animation even more expressive.

In this lesson, we’ll focus on the benefits and drawbacks of creating 3D in After Effects. We’ll consider when it’s better to work with the built-in 3D features, using various engines instead of another software. Then we’ll create a few simple 3D models and demonstrate to you how to quickly animate them and use them as a basis for more complex animations. In addition, we’ll analyze cases when we can take advantage of expressions to work with 3D.
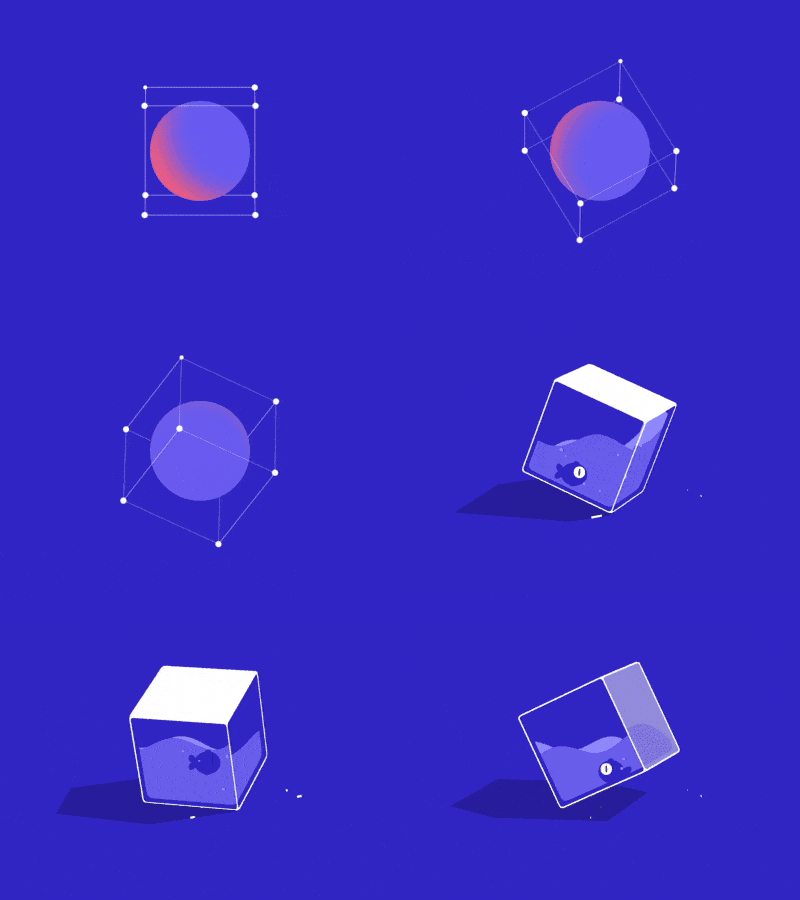
Based on three animations, you’ll learn generators and deformers for simple animation in C4D Light. We’ll cover modeling basics, demonstrate to you how to work with textures and use Xpresso for automatic animation without setting keyframes. And we’ll finish the lesson by showing you how to stylize the picture for our project and how to prepare the project for import into After Effects.

We’ll show you a few options to integrate a project from Cinema 4D into After Effects. And then we’ll take a look at the possibilities and approaches to stylizing 3D material in After Effects.

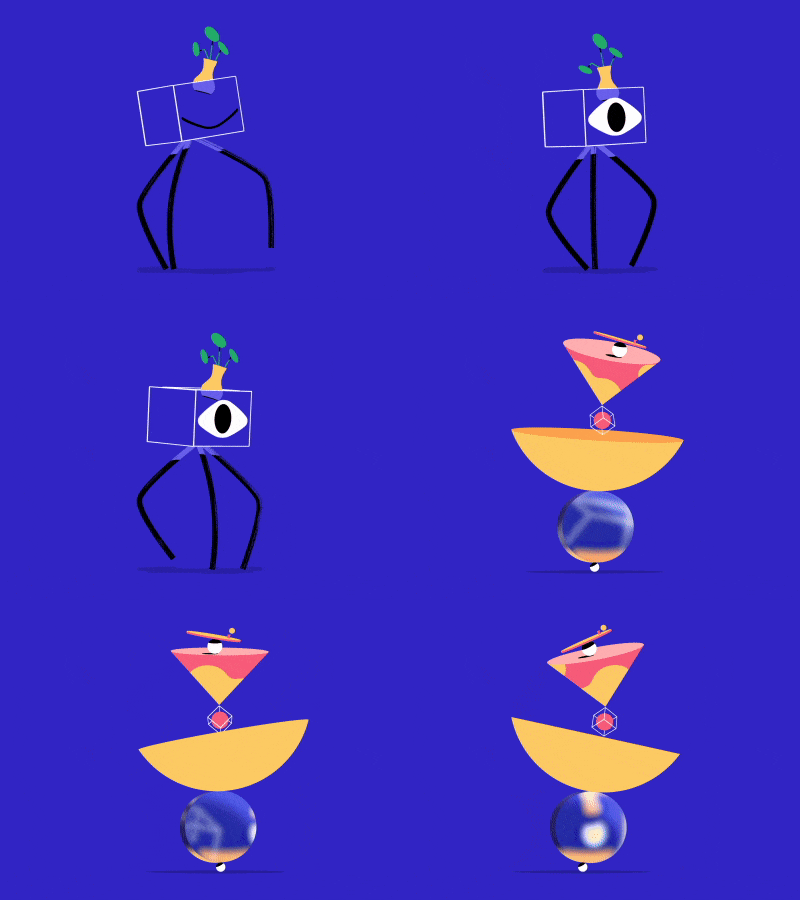
In this lesson, it’s time to combine all styles into several complex illustrations consisting of 2D and 3D graphics. We’ll analyze issues you may deal with and will suggest approaches to solving these issues. What’s more, we’ll take a look at the rig and animation of the spider, for which we will use a completely new custom script with a limb system for advanced rigs.
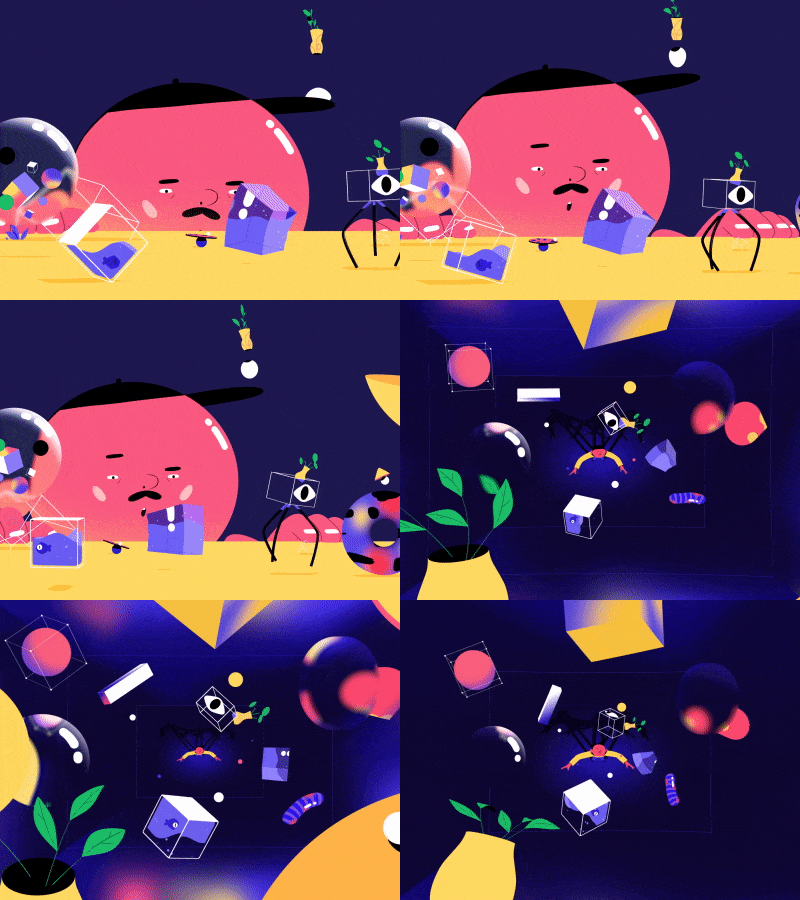
In this lesson, we’ll assemble two scenes from all the animations. You’ll learn how to add auxiliary animation in order to liven up our scenes. What’s more, you’ll have a look at how to deal with really complicated compositions containing a dozen of complex animations, without going crazy with the render time.
During the course, we use a lot of custom scripts. So, now it’s time to learn how these scripts are created and what software is used to develop them. Also, you’ll find out how to debug their work, modify them and adapt them for your own purposes. From this point on, you’ll be able to develop your own approach to work and form your own workflow.

We’ll show the breakdown of the most difficult parts of our project. Also, you’ll see how to combine the frame-by-frame animation in a 3D environment.

We’ll attach all the course materials and scripts so that you can check out all the details of the project.


If unhappy with the course, you can request a refund within 14 days after the purchase and get every cent back. Course purchased before the actual starting date refund can be requested up to 14 days after the first installation. Note: not applicable if purchased with a discount coupon
We often send free tutorials, updates and discounts on future courses. Jump on board, you will love it.