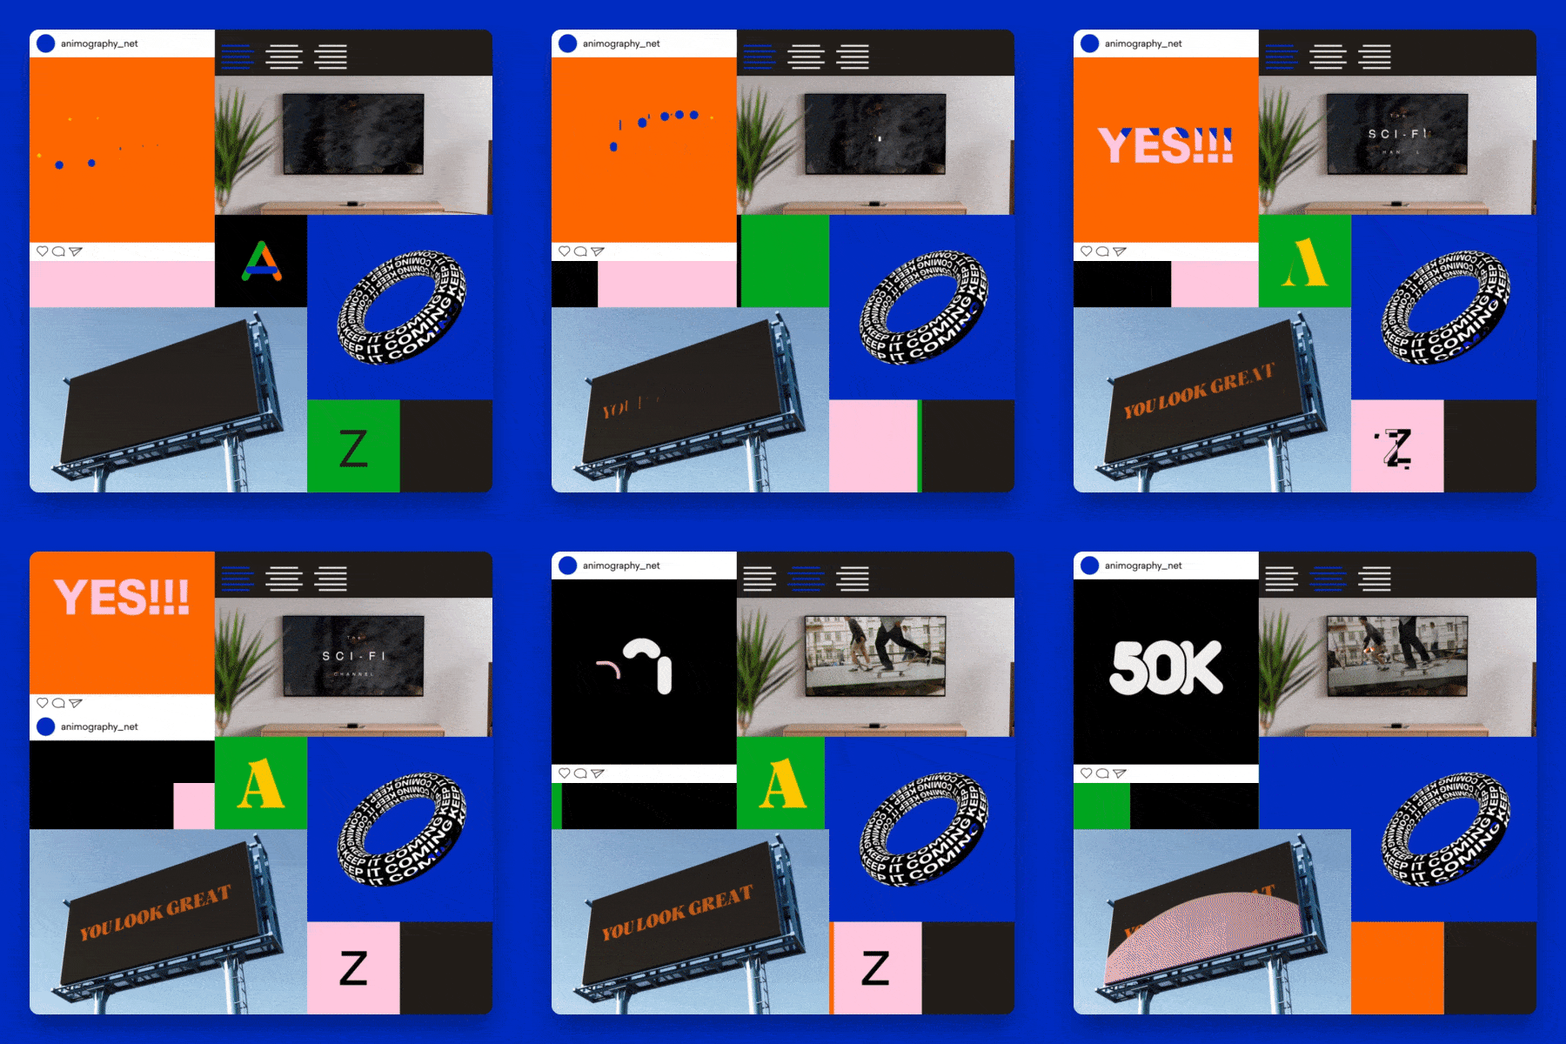
Animated Typefaces with Animography

Learn how to set up your files in order to create powerful and flexible typographic systems


Learn how to set up your files in order to create powerful and flexible typographic systems


There are a lot of digital screens in our lives today. From smartphones to Billboards. And with it comes large demand for typography in motion design. Often because the content is consumed without audio.
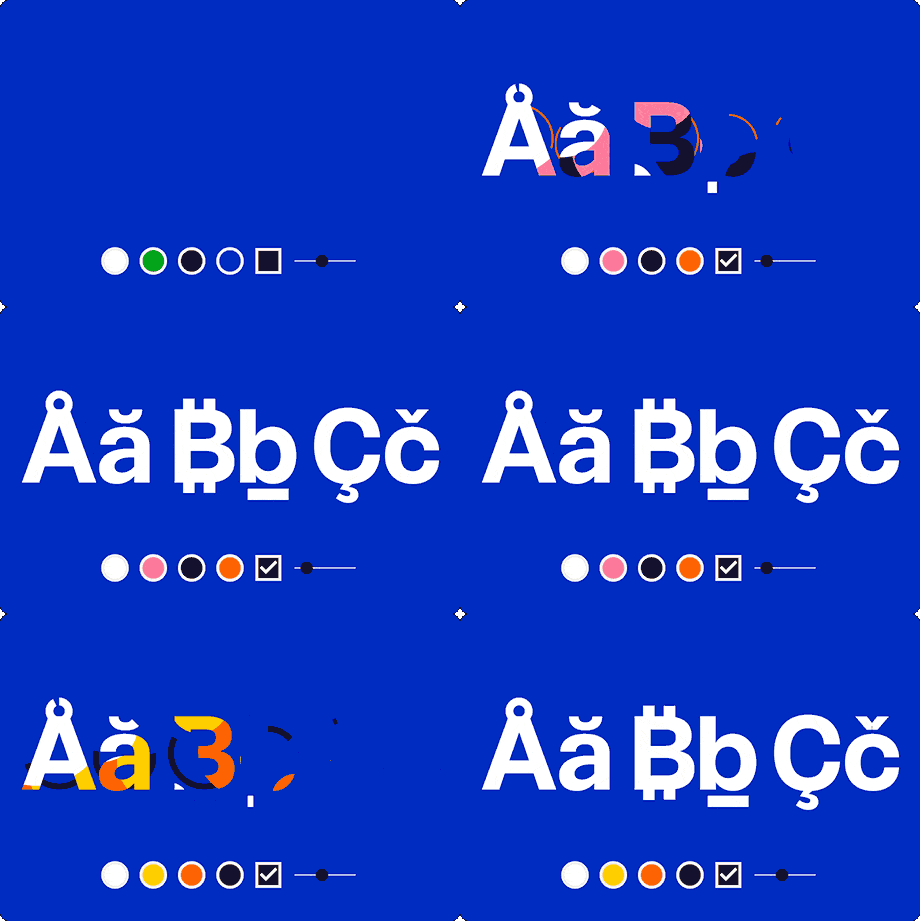
In this course, you’ll learn how to create an animated typeface within After Effects. You can type with it, just like any other typeface. But it has the added bonus of motion. It takes some effort to animate but once finished, you can apply it over and over again to quickly create consistent and powerful typographic content. Great as a personal project, and even better to sell to your clients as part of their motion branding.
8 lectures / 4h+
We’ll start off by laying a basic foundation without even touching After Effects. I’ll show you the tools we will use, and explain how to approach your project as a modular design system. I will also cover some typography lingo that you might not be familiar with, to make sure we speak the same language.
• Course outline;
• Overview of the tools we will be using;
• Motion design theory;
• Essential typography lingo.

To get familiar with the process, we will create a very simple animated typeface. There will be lots of room to experiment and add your own style. This lesson is all about getting to know the setup of an animated typeface.
• Creating a typeface template;
• Animating the typeface;
• Using precomps;
• Adding kerning & metrics;
• Adding stylistic alternates;
• Using your own font.

By adding controllers, you can easily customize the color and other features of your animated typeface. In this lesson, you’ll learn how to use expressions and expression controls to create a flexible system.
• Create basic controllers;
• Mark controller expressions;
• Duplicate controllers;
• Better controllers with Pseudo Effects.

Work faster, smarter, and with more precision. I’ll show you my most valuable tips, tricks, and tools for working with vectors and expressions.
• Using Overlord to switch between Illustrator and After Effects;
• Best practices for clean vector shapes;
• Recommended scripts to automate your workflow and save time.

In this lesson, we will pick apart some of the most popular typefaces from our collection. Learn how and why they were made in this specific way.
• Breakdown of Prota;
• Breakdown of Vesterbro;
• Breakdown of Fat Frank;
• Breakdown of Zercon.

You’ll apply all the know-how you learned in the previous lessons to create an animated typeface in your own style. This time it will be complete with built-in controllers, a large character set, kerning and stylistic alternates.
In this lesson, I’ll guide you step by step from start to finish. Along the way you’ll be checking off each part of the process from a checklist, so you can monitor your progress.

Take it to the next level and convert your animated typeface to the JSX format. This unlocks an even more flexible way of applying your typeface because all the design and animation are stored in a folder outside of After Effects (just like normal fonts). This allows you to apply it to any project without having to import anything.
This lesson requires compCode and is totally optional.

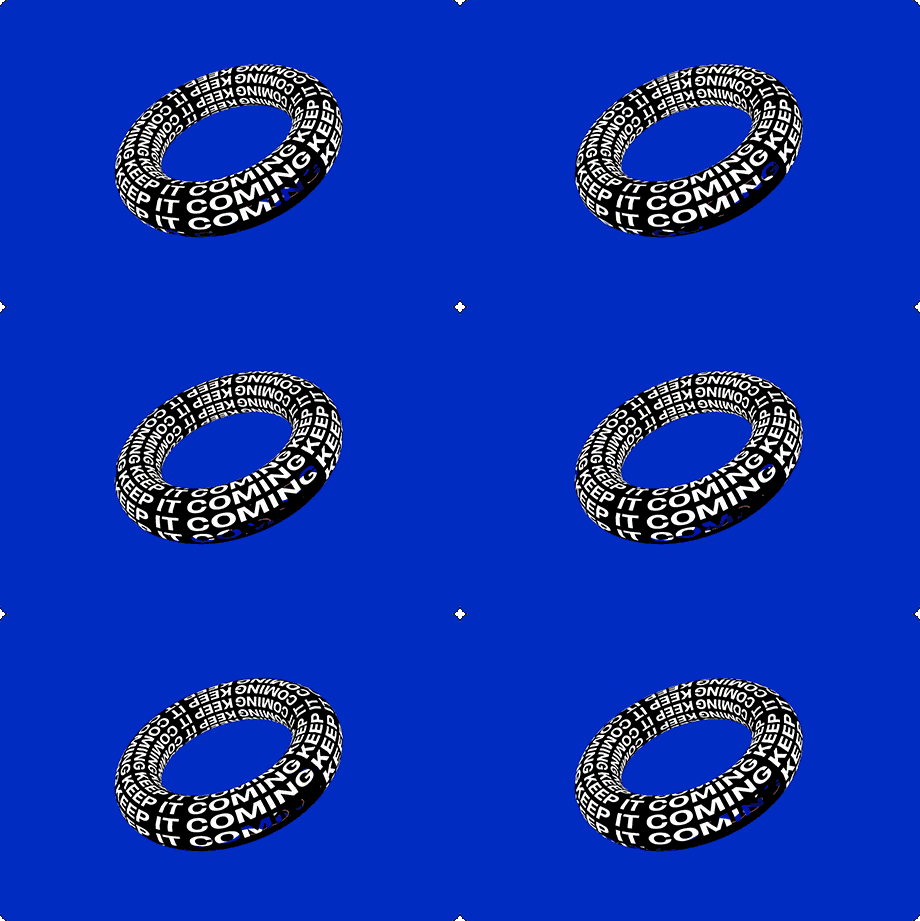
Now that your animated typeface is finished, it’s time to have some fun with it. In this lesson, I will show you how to make 4 different typographic loops. 3 of them are made in After effects, but for the final one, we will take a trip to Cinema 4D.


If unhappy with the course, you can request a refund within 14 days after the purchase and get every cent back. Course purchased before the actual starting date refund can be requested up to 14 days after the first installation. Note: not applicable if purchased with a discount coupon
We often send free tutorials, updates and discounts on future courses. Jump on board, you will love it.