2D to 3D
with Cinema4D

Discover the world of 3D animation
and migrate your skills from AE to C4D.


Discover the world of 3D animation
and migrate your skills from AE to C4D.


You’ve been meaning to create 3D models or entire videos, but were afraid to switch from 2D shape animations to 3D?
This course will help you overcome your fear of 3D and pull you into the 3D world forever. You no longer want to create 2D animations and suffer creating fake 3D and animating Paths in After Effects. Cinema 4D is a world of new possibilities. In the course, we immerse you in this world. We will deal with modeling and its types, animation, and the creation of materials. We’ll cover the light settings and rendering.
We will cement all this knowledge in practical lessons since practice is an integral part of your progress. You will be able to create full-fledged 3D videos.

We will introduce you to the program interface and talk about the functionality of each button, tool, and when and why you need to use a particular deformer and generator.

Each stage is crucial. We will understand not only how to create 3D models, but also work on creating materials, setting up lighting, optimal rendering and animate a scene.

You have a great opportunity to overcome your fear of 3D and start combining it with 2D animations. You will be able to amaze the Internet with your cool works.
10 lectures / 10h+
In this lesson, we will cover the program interface. We’ll find out what the Object Manager is and the types of objects in Cinema. We’ll talk about workflow and install some useful plugins.

In this lesson, we’ll look at the types of modeling and modeling approaches.
We’ll find out what deformers and generators are, and which ones are most often used to create models. Let’s figure out what MoGraph is and how Fields work.
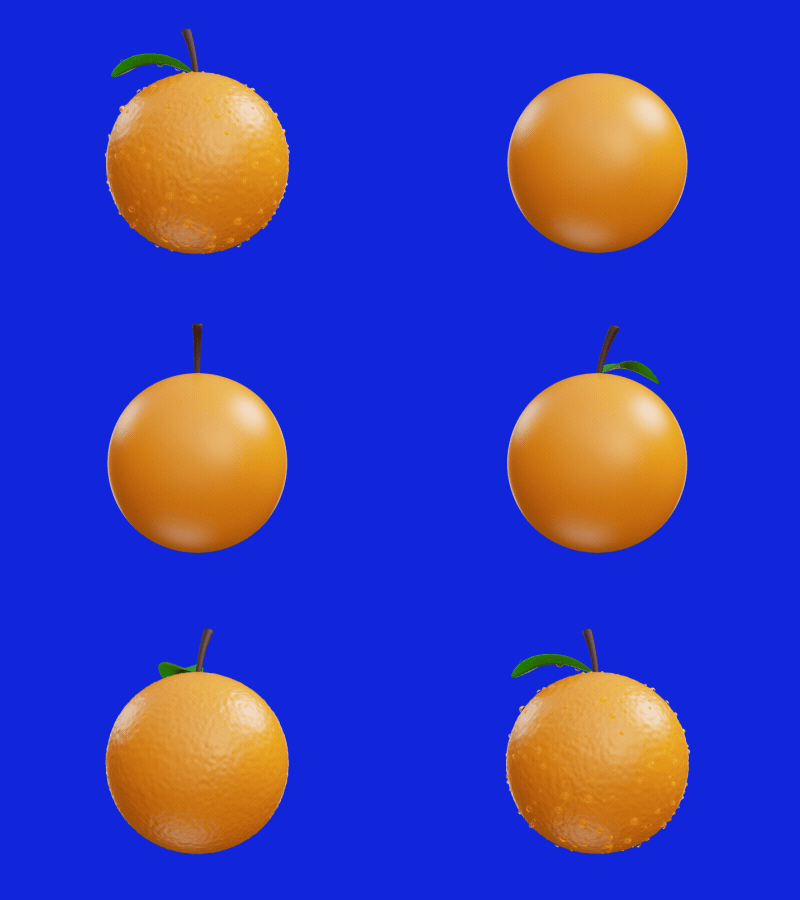
We’ll find out the possibilities and options for using splines in modeling.
We’ll cover generators for creating spline-based models.
In practice, we’ll recreate some objects from the promo video.

In this lesson, we will consider the types of polygonal models. We’ll take a look at the tools used for working with polygons and geometry optimization.
In practice, we will cement the acquired knowledge.

We’ll analyze the general principles of modeling for subdivisions and technical details. We’ll cement this knowledge in practice and create a 3D model of a joystick.

Since this topic is about rendering, we’ll take a look at Redshift.
We’ll talk about working with light and lighting effects and consider the optimal lighting schemes.
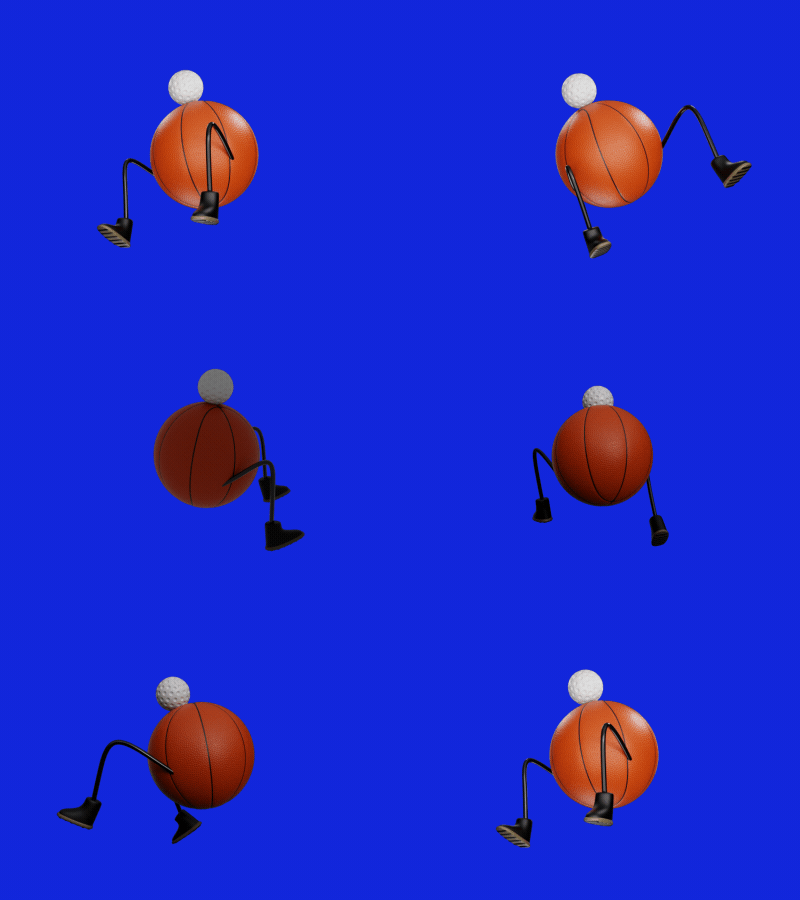
In this lesson, we’ll learn how to create, apply, and customize materials.
We’ll take a look at the principles of creating UVs and baking textures.

We’ll take a look at the approach to rendering and setting up the Redshift renderer. We’ll create the final image.

In this lesson, we’ll introduce you to animation, its types, and the general workflow. We’ll cover the basic principles of object animation, animation of simple deformers, and creating loops. We’ll also talk about the general principles of working with bones and setting weights.
We’ll animate the final shot from the promo video.

In this lesson, we’ll figure out how to build a project in After Effects. We’ll talk about how to correctly import sequences, null objects, and cameras from Cinema 4D. We’ll compose 2d elements with a 3d composition sequence.


If unhappy with the course, you can request a refund within 14 days after the purchase and get every cent back. Course purchased before the actual starting date refund can be requested up to 14 days after the first installation. Note: not applicable if purchased with a discount coupon
We often send free tutorials, updates and discounts on future courses. Jump on board, you will love it.