
In this video, we will show you how to use the camera layer. At the end of it, you will understand how to deal with 3d layers and a camera to achieve the isometric look.
Creating an Isometric Look with Camera Layer in After Effects
The isometric look is a popular visual style that creates a sense of depth and three-dimensionality by using a specific camera perspective. In After Effects, you can achieve this effect by utilizing the Camera Layer and adjusting its settings. This guide will walk you through the process of creating an isometric look in After Effects, providing step-by-step instructions, visual aids, and practical examples to help you understand and apply this technique effectively.
Step 1: Setting up the Composition
- Launch After Effects and create a new composition by selecting “Composition” > “New Composition” from the menu bar.
- In the Composition Settings dialog box, specify the desired settings for your composition, such as the width, height, duration, and frame rate. Click “OK” to create the composition.
Step 2: Adding a Camera Layer
- With the composition selected, go to “Layer” > “New” > “Camera” to create a new camera layer.
- In the Camera Settings dialog box, choose “Two-Node Camera” and click “OK”.
- The camera layer will appear in the Timeline panel. You can rename it by double-clicking on its name and entering a new name for easier organization.
Step 3: Adjusting Camera Settings
- Select the Camera Layer in the Timeline panel.
- In the Composition panel, select the “Camera” tool from the toolbar.
- Click and drag in the Composition panel to adjust the camera’s position. Move it around to find the desired isometric angle.
- Use the camera’s Orbit, Track XY, and Track Z controls in the Composition panel to fine-tune the camera’s position and rotation until you achieve the desired isometric look.
Step 4: Fine-Tuning Camera Settings
- With the Camera Layer selected, press “P” on your keyboard to reveal the Position property.
- Adjust the Position property values to further refine the camera’s position. Experiment with different values to find the right balance for your composition.
- Additionally, you can adjust the camera’s Focal Length property (press “P” twice to reveal it) to control the field of view. Lower values create a wider angle, while higher values create a narrower angle.
Step 5: Creating Isometric Assets
- To enhance the isometric look, you can create or import assets that align with the isometric perspective. Use tools like the Pen tool, Shape layers, or 3D models to create or import your assets.
- Ensure that your assets are aligned correctly in the isometric space. Use guidelines or grids to help you maintain the proper perspective.
Step 6: Animating Isometric Scenes
- With the Camera Layer selected, press “A” on your keyboard to reveal the Camera Options.
- Enable the “3D” option to activate the camera’s 3D capabilities.
- Now, you can animate your assets within the isometric space by adjusting their position, rotation, and scale properties. Experiment with keyframes and different easing options to create dynamic and engaging animations.
Practical Tips and Applications
- Combine the isometric look with other After Effects features like lighting and shading to add depth and realism to your compositions.
- Experiment with different camera angles and perspectives to create unique isometric designs.
- Utilize expressions and scripts to automate repetitive tasks and enhance your workflow.
- Consider adding subtle parallax effects to your isometric animations to enhance the sense of depth.
- Apply depth of field effects to focus on specific elements within your isometric scene.
- Use the isometric look for various applications, such as motion graphics, product visualizations, architectural presentations, and more.
Conclusion
By following the steps outlined in this guide, you can create an isometric look using the Camera Layer in After Effects. Remember to experiment, be creative, and combine different techniques to achieve visually stunning results. The isometric look offers a versatile and eye-catching visual style that can be applied to a wide range of projects. With practice and exploration, you’ll gain mastery over After Effects and unlock endless possibilities for creating captivating animations and visual effects.
What is the Motion Beast course?
This is the must-see course for any Motion Designer. It lays the foundation for all aspects of modern motion design and covers every topic from AE basics to character rigging and frame by frame animation.
The course will help you overcome AE-related barriers and fears which are standing between you and the wonderful world of animation and motion design
ONLINE COURSE
Motion Beast
The Importance of Motion Graphics in Web Design
Through the course of this article, we’ll take you through why motion graphics have become a staple in web design, and why it is integral to crafting an engaging user experience!Since animated movies came to the fore in the dawn of the 20th century, the technology that drives animation, visual effects and motion graphics has […]
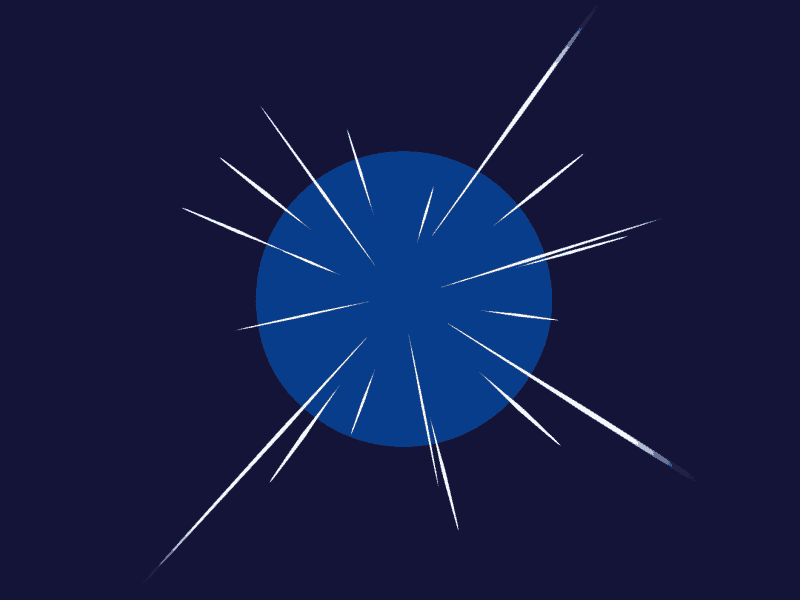
Speed Lines with Shape Layers in After Effects Tutorial
In this short After Effects tutorial I’ll show you how to easily create tapered speed lines using shape layers without any plugins. This is a pretty popular effect that you can use to convey feeling of superluminal speed, imitating portals and space things or just to add more dynamics to your scene transitions.How to make […]
Auto-orient in After Effects
In this quick tip, we will show you how to deal with an auto-orient option in the transform settings in After Effects.Guide to Auto-orient in After EffectsAuto-orient is a powerful feature in Adobe After Effects that allows you to automate the orientation of layers based on various parameters. Whether you’re creating motion graphics, visual effects, […]