Navigating in Timeline makes from 20 to 40 percent of an animator’s working time. These are overwhelming numbers as these processes do not “propel the story” and stay in the way of creating the animation itself. This is especially critical for heavy projects, in which each routine click or scrolling piles up into heaps of time spent inefficiently.
We have selected the top three After Effects hotkeys which you absolutely have to master and keep in mind if you want to stay more focused on the top section of the interface/screen, not on the one at the bottom.
U
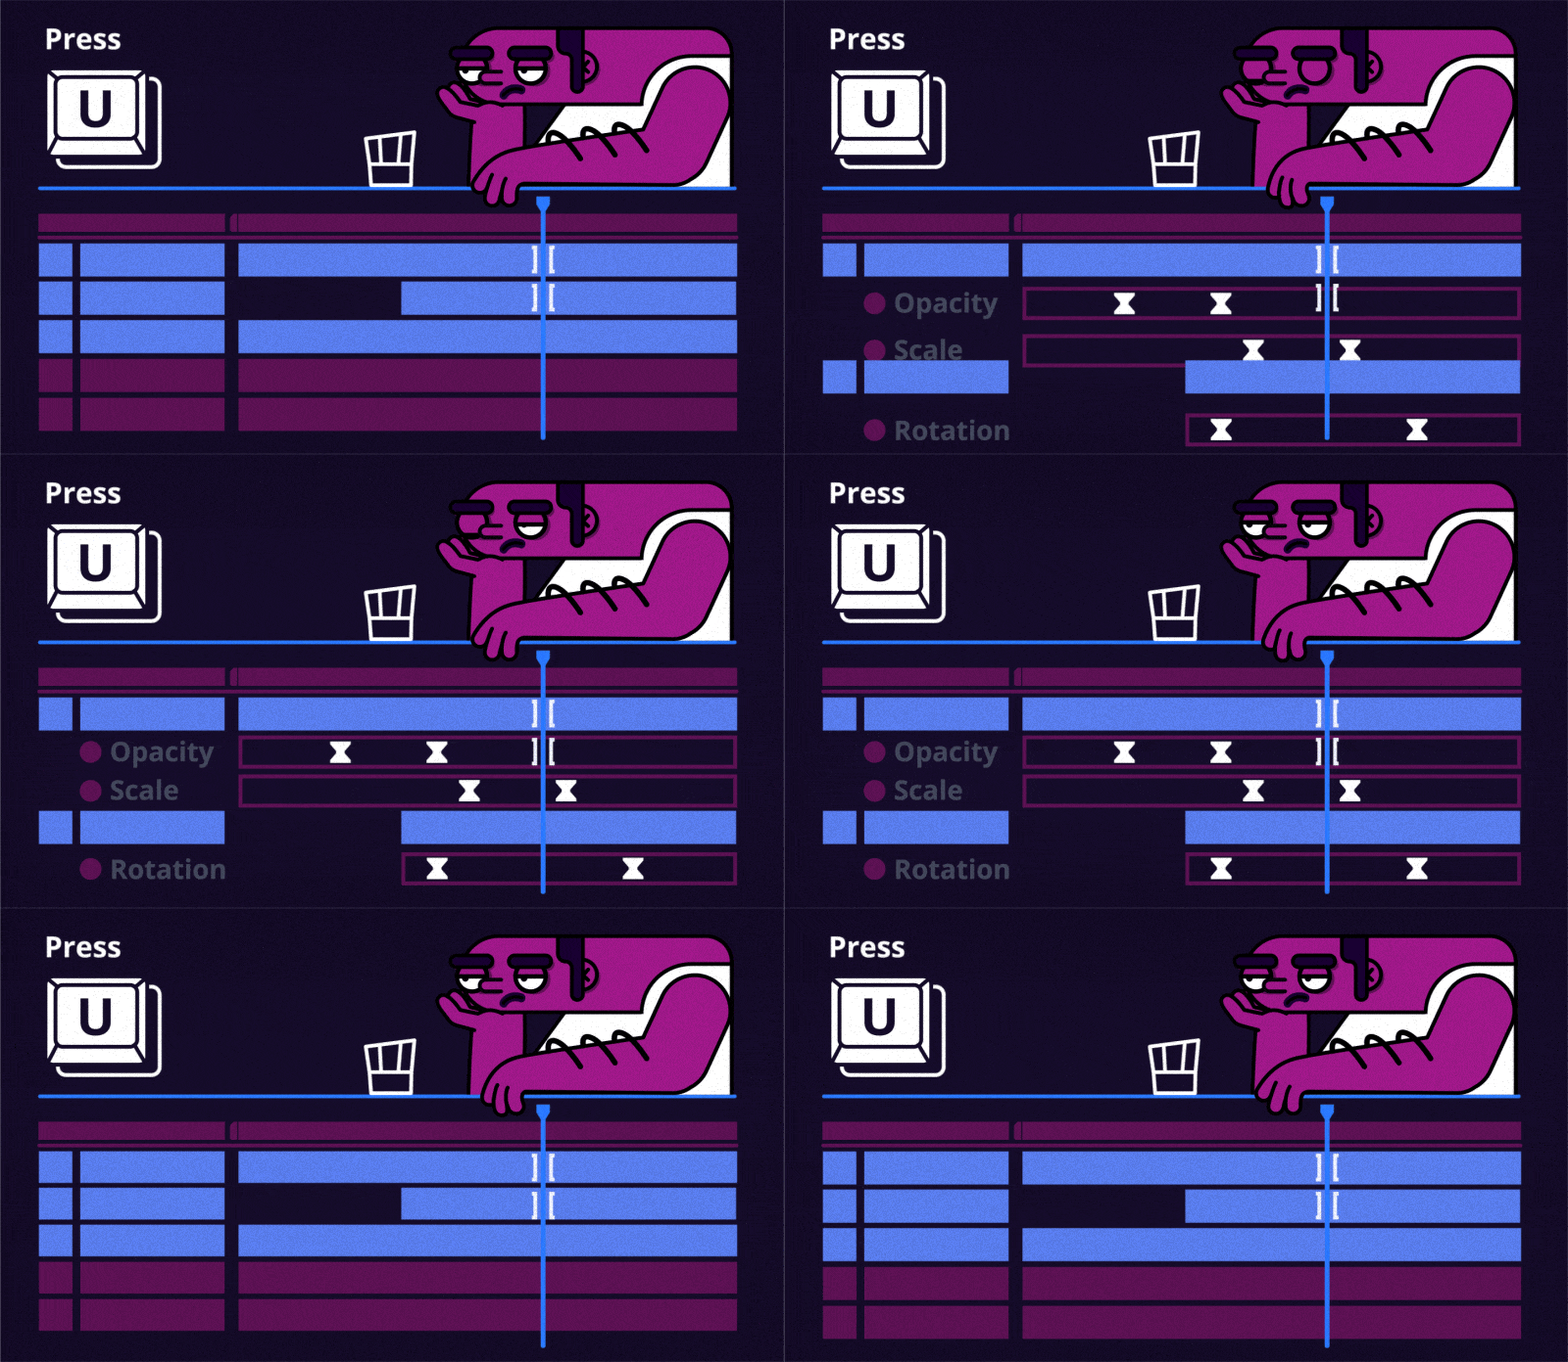
When you have already accumulated hundreds of lines with thousands of hotkeys in the Timeline, it is extremely important to hide extra stuff. Expanded groups, parameters that you do not even edit but which open just together with the rest as well as other settings – you can hide all this by pressing U on your keyboard and keep only keyframed properties displayed. When the key is pressed again, the layer collapses all the lists.

U is a fairly popular hotkey, and if you’ve already worked in After Effects for a couple of days, you are probably familiar with this one. But it’s way harder to find information about the next hotkey.
Double S
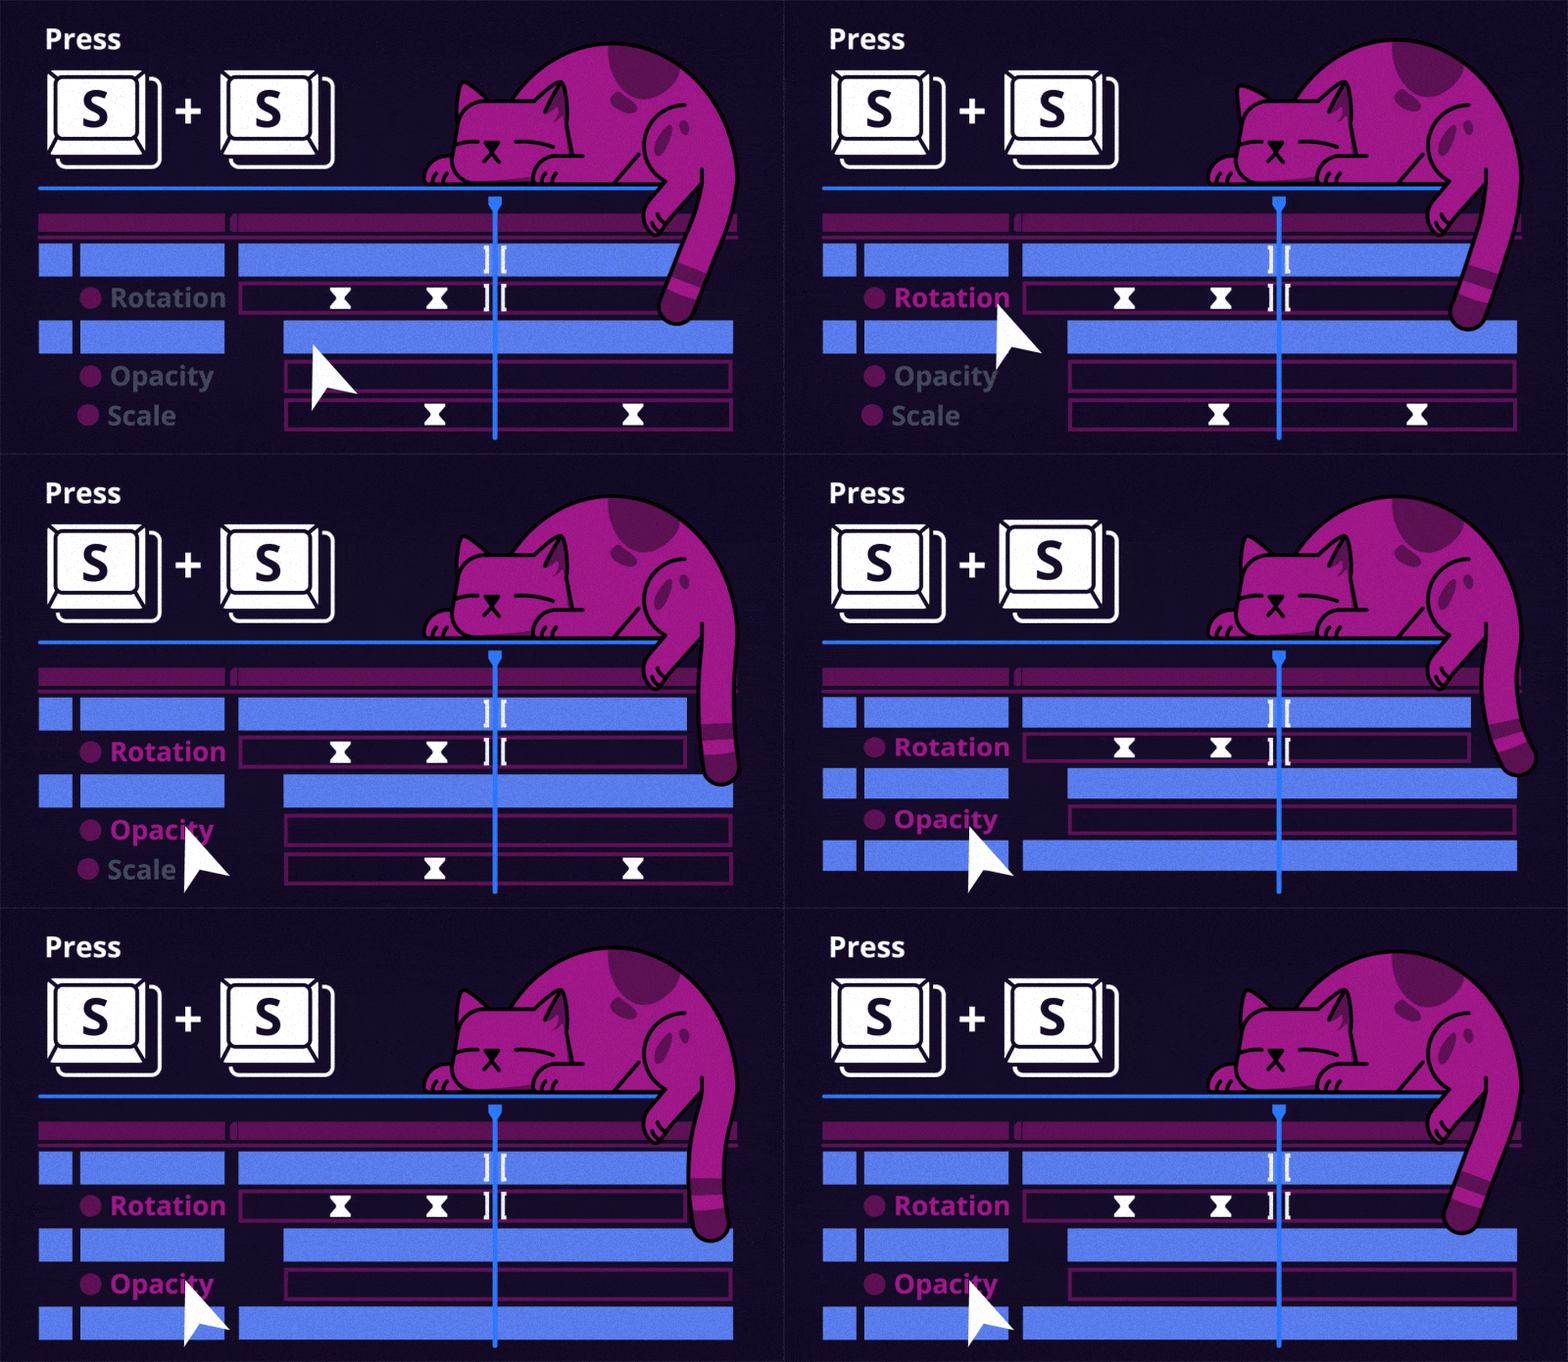
OK, you press U, but you’ve gone so far with your project already that this solution no longer helps. When the number of keyframed properties in each layer is enough to go nuts, Double S will lend you a helping hand. In the property panel, select only the properties you need. Double-pressing S, you will leave only them displayed. Moreover, this works even for unkeyframed properties.

We haven’t checked this, but the theory goes that this hotkey is short for ‘Show Selected’. At least, it’s an easy way to remember it.
Double E
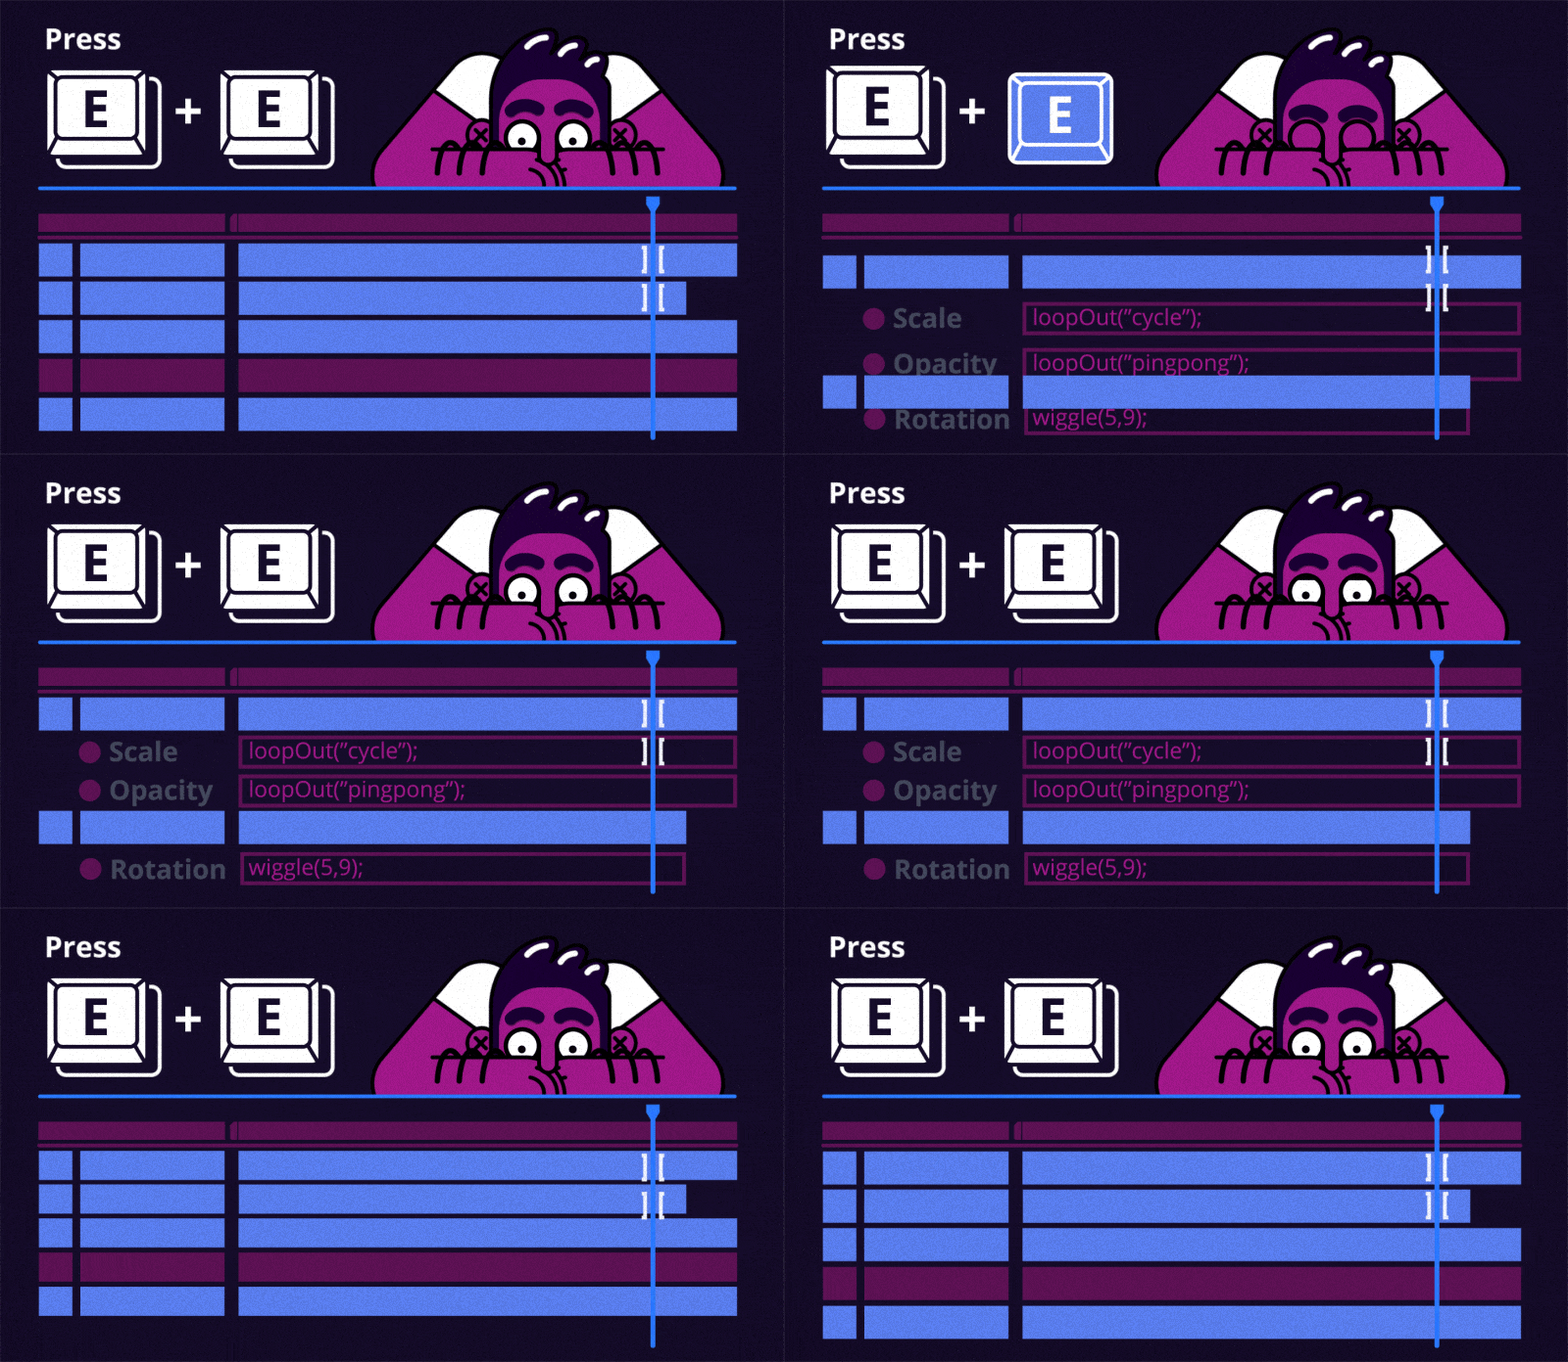
Okay, keyframes will no longer bother us, but what about expressions? The story is the same here, but the key is different. Double-pressing E displays all properties with expressions added to them.

And one more thing
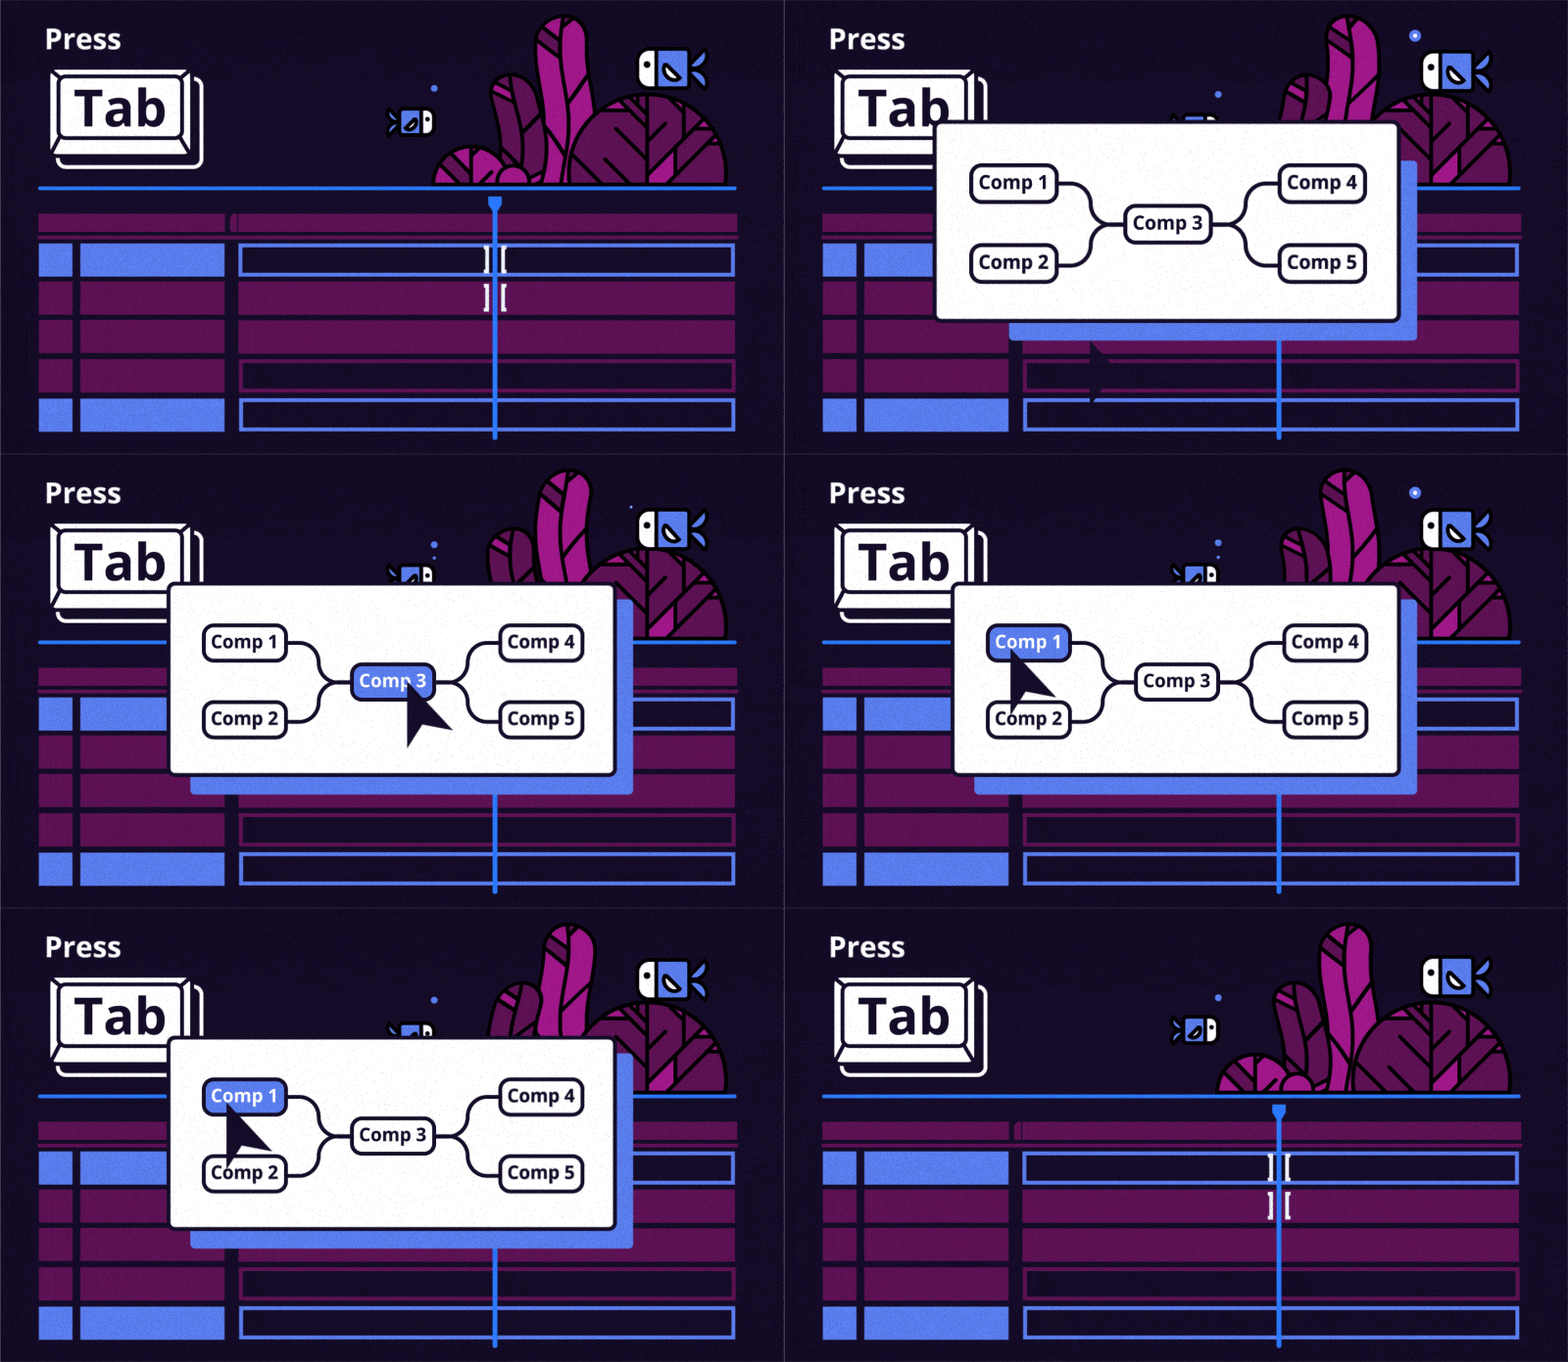
Press Tab to go deeper into the composition and back. After pressing this button, a small window pops up. In the right-hand part of the window, there’s a list of the compositions that sit inside the one you’re in, whereas in the left-hand part, there’s a list of compositions to which the current composition belongs.

We hope you found this helpful.
Make animation, not excavations in the Timeline!
Want to know more about animation?
After Effects Keyframe Shortcuts
Adobe After Effects is arguably one of the most powerful creative tools (read: animation and visual effects software) available for professionals, particularly motion designers and VFX artists. If you’re a beginner or pro designer (does that even matter?), once you start to use After Effects religiously, you’ll recognize how super important it is to optimize […]
Best Animation Software and Motion Graphic Program to Use
Getting Started with Animation and Motion Graphics! When it comes to animation and motion graphics, the array of software and programs, free or otherwise, offer a daunting choice to beginners. “The best animation software” is largely relative, with each animator having their own personal preferences. To help newcomers out, we’ve compiled a list of the […]
Frame-by-Frame Animation Workflow in Photoshop
In this tutorial, Sasha will show you everything you need to know about frame-by-frame animation in Photoshop. You’ll learn the reasons behind choosing to animate your works in Photoshop, as well as its advantages and drawbacks for an animator. Moreover, you’ll discover how to create cool animation using the free AnimDessin2 plugin as well as […]


