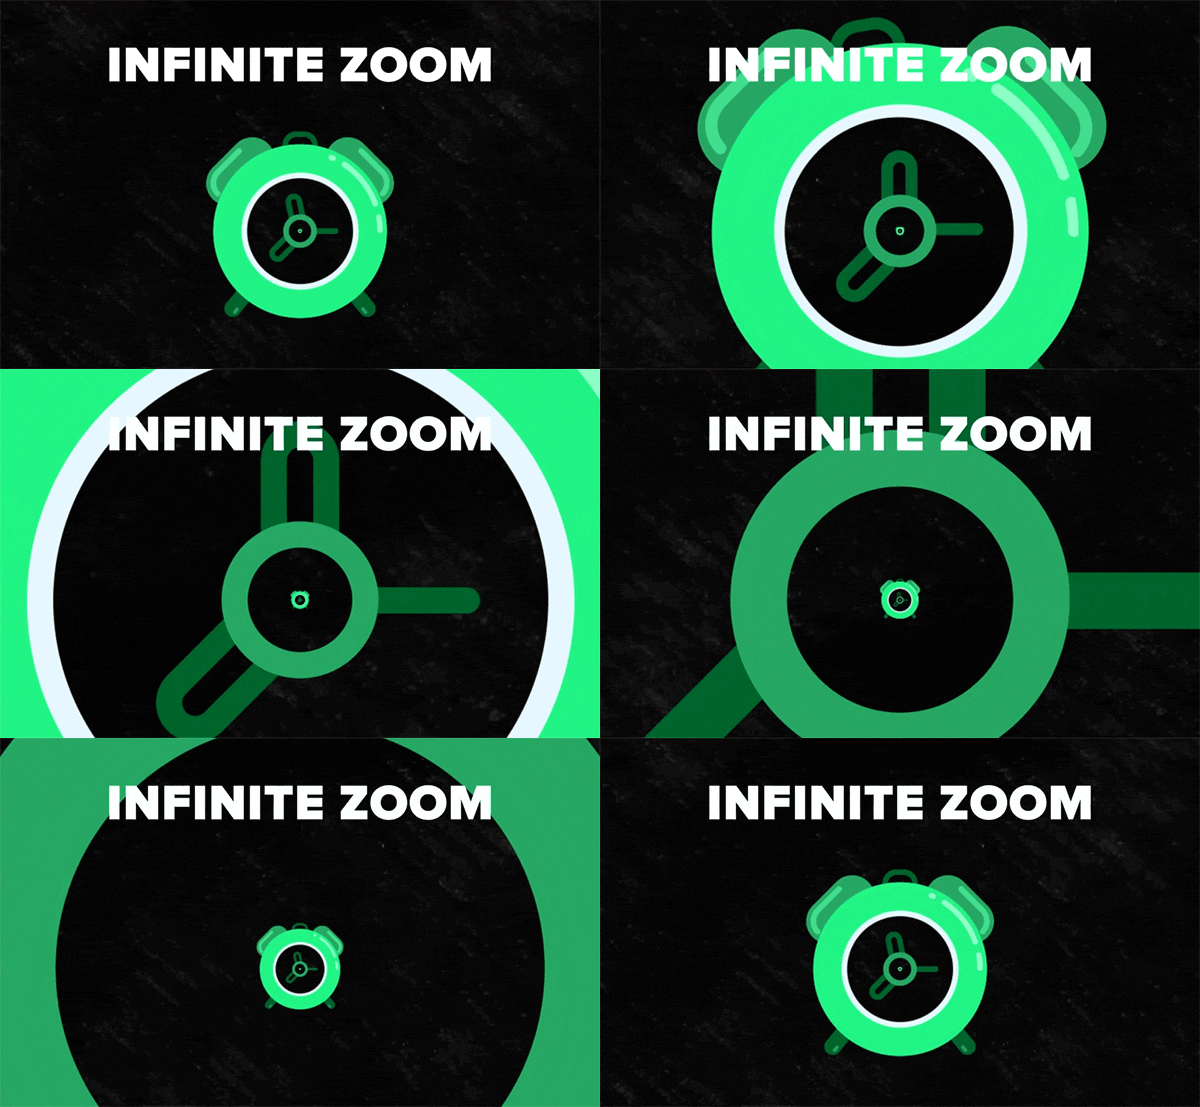
Some secret technique is waiting for you in this video. Unleash the power of native features of After Effects.
Guide: How to Sequence Layers in After Effects for Seamless Animations
Welcome to this comprehensive guide on sequencing layers in Adobe After Effects! Whether you’re a beginner or an experienced user, mastering layer sequencing is essential for creating smooth and polished animations. In this guide, we’ll walk through the process step by step, ensuring you have a solid understanding of the principles involved.
1. Understanding the Timeline
1.1 Introduction to the Timeline Panel
The Timeline panel is the heart of After Effects, where you’ll manage and organize your layers. Open it by pressing Ctrl + Alt + T (Windows) or Command + Option + T (Mac).
1.2 Basics of Layer Stacking
Layers are stacked in the order they appear on the timeline. The layer at the top is the one visible in the front.
1.3 Duration and In/Out Points
Adjust a layer’s duration by dragging its edges. Use “I” for the In point and “O” for the Out point to control when a layer begins and ends.
2. Organizing Layers
2.1 Renaming Layers
Double-click on a layer’s name to rename it. Descriptive names make your project more manageable.
2.2 Creating Layer Folders
Organize your project by placing related layers into folders. Right-click, choose “New” > “Folder,” and drag layers into the folder.
2.3 Color Coding for Clarity
Assign colors to layers by right-clicking and selecting “Label.” This visual aid helps identify layer types or groups.
3. Sequencing Layers
3.1 Basic Layer Ordering
Drag layers up or down in the timeline to change their order. The topmost layer appears in front.
3.2 Adjusting Start and End Times
Fine-tune when a layer starts or ends by dragging its In and Out points in the timeline.
3.3 Time Stretching for Speed Control
Right-click on a layer, go to “Time,” and choose “Time-Reverse Layer” or “Time Stretch” for creative effects.
4. Using Markers
4.1 Setting Markers
Press “Ctrl + 8” (Windows) or “Command + 8” (Mac) to set markers at specific points on the timeline.
4.2 Marker Navigation
Jump between markers using the “Next Marker” and “Previous Marker” buttons in the timeline.
4.3 Utilizing Markers for Key Events
Markers are handy for planning key events. Add notes by right-clicking a marker and selecting “Edit Marker.”
Congratulations! You’ve now mastered the art of sequencing layers in After Effects. Experiment with these techniques to enhance your animations and bring your creative vision to life!
What is the Motion Beast course?
This is the must-see course for any Motion Designer. It lays the foundation for all aspects of modern motion design and covers every topic from AE basics to character rigging and frame by frame animation.
The course will help you overcome AE-related barriers and fears which are standing between you and the wonderful world of animation and motion design
ONLINE COURSE
Motion Beast
Breakdown of Frame-by-Frame Animation
In this short frame-by-frame animation tutorial, I’ll show you how to create and animate an illustration from scratch. We’ll start with a sketch and will go all the way up to post-production. To do this you’ll only need Photoshop for drawing and for frame-by-frame animation and After Effects to put it all together nicely and […]
Exponential scale in After Effects
How often you want to achieve the exponential scale. You’ve probably tried to do that with graph editor, but it’s almost impossible. In that case, we’ve prepared the two ways how to do it quickly. Right-click on selected keyframes, go to keyframe assistant, and choose an exponential scale. That’s it! Another way is to use […]
Running Chair Animation Breakdown in After Effects
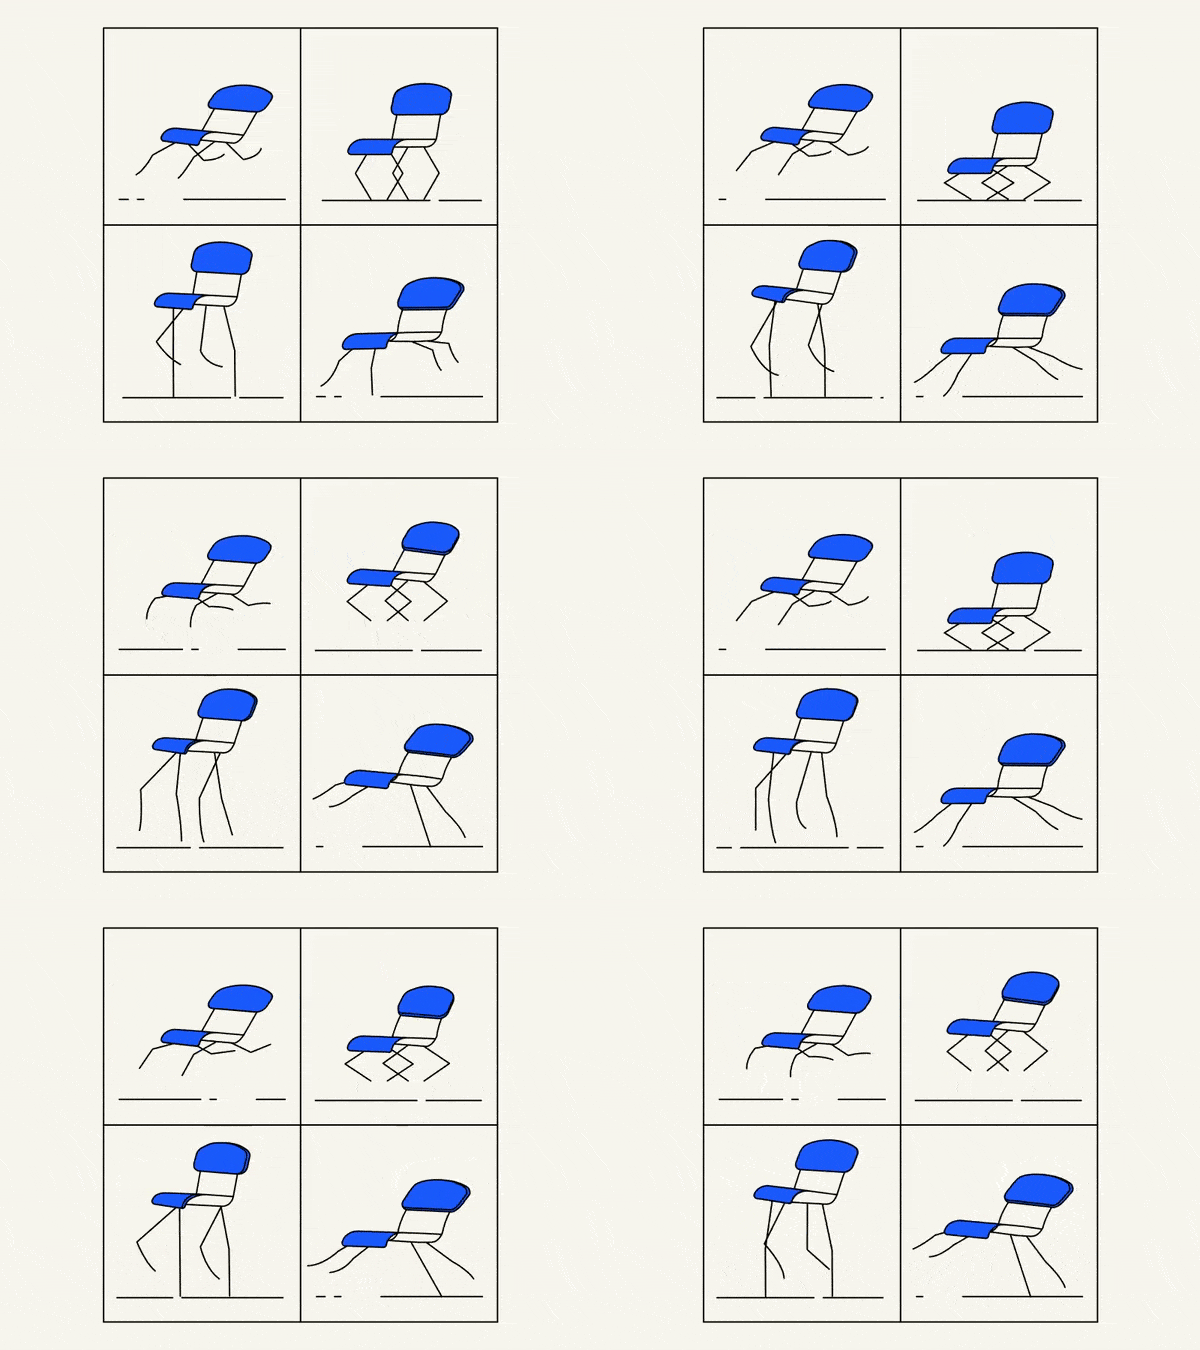
New “How to” create a funny chair run cycle in After Effects. Step-by-Step Guide: Runnning Chair Animation The Running Chair Animation in After Effects is a creative and dynamic effect that can add visual interest and energy to your projects. It involves animating a chair to simulate movement as if it is running or sliding […]


