Animation has clear-cut advantages over live-action, especially when it comes to expressing certain things that simply don’t happen in real life. One of the opportunities that animation gives an author is being able to directly transform given objects into other objects without using complicated distracting tricks. You can even bring together entire scenes with the subtle transition magic, and, by doing so, create a feeling of seamless narration.
Is it difficult to achieve this effect? Not all all. And we are going to prove this in this article.
I will step-by-step show you how these scenes were created and explain in detail the author’s train of thought behind them so you can apply this knowledge to your projects:

Check our Illustration for Animation course.

But before we get down to the practical example, let’s figure out what morphing is. This is essentially a transformation, an animation of an object transitioning from one shape to another. There are several ways of creating such a transition, and these ways, basically, define the three main types of morphing:
1. Direct morphing
This is the type of morphing in which the shape of an object is directly transformed into another shape, without any cheating or ambiguity. This kind of morphing can be very smooth and slow as there’s nothing that needs to be disguised. Here’s a good example of such a morph:

2. Morphing at the maximum speed
This is one of the most commonly used techniques, and its main point is in replacing one object with another when it is in motion. The viewers won’t have enough time to follow all the details of the transformation and their imagination will complete the missing details. There is no need to worry about distorting the objects’ shapes as the overall dynamics and the movement direction will do 80 percent of the work for you.

3. 50/50
This type is the combination of elements used in direct morphing with the speed and various distracting tricks. Appearance from behind the masks, decorative elements that grab the viewers’ attention, the speed and the general direction of dynamics – all these together create a feeling of direct morphing and greatly reduce the amount of work. Everyone who values their time and doesn’t want to dig too deep in details chooses this approach.
So, all this is quite interesting, of course, is there a way to apply this information in your work?
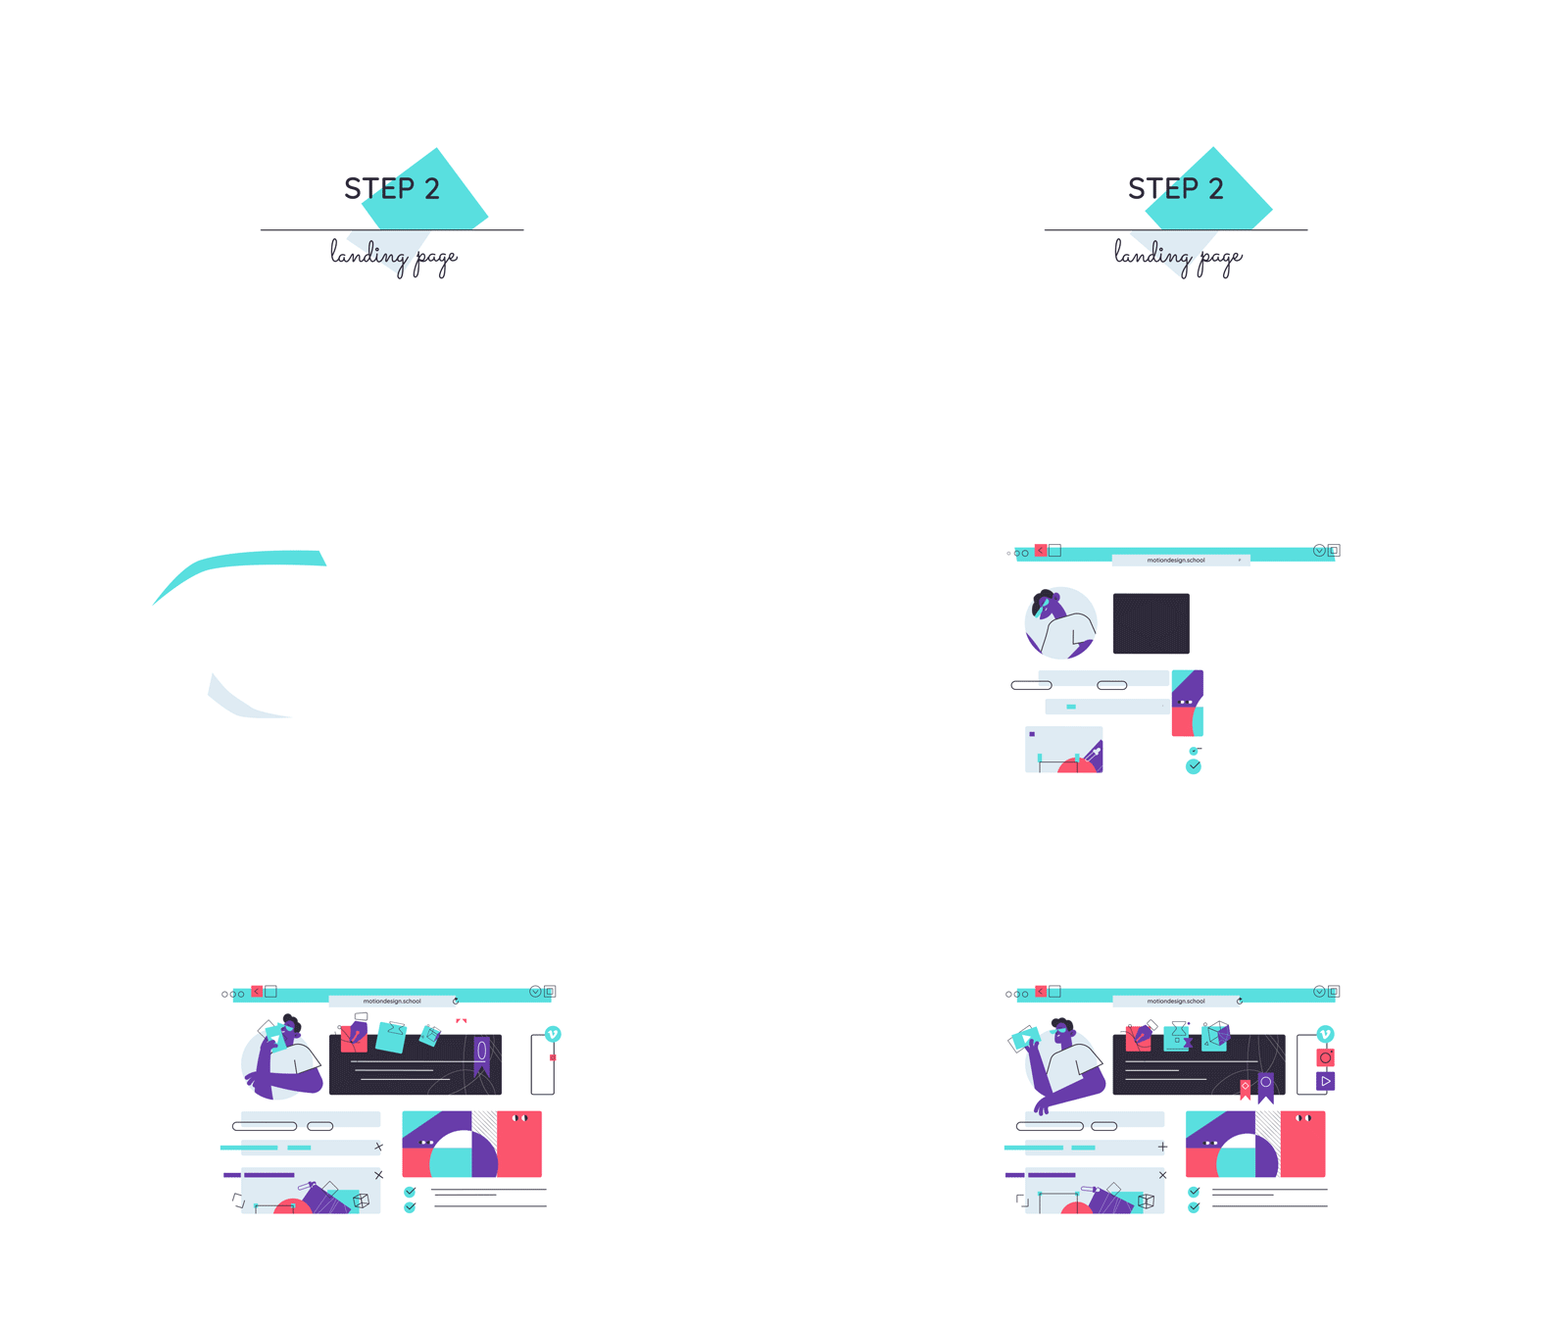
Now that you know what you should keep in mind and pay attention to, let’s cover it all in practice. The challenge before us is to create a transition between scene 1 and scene 2:

You can, of course, choose the easy way and hide the shapes behind the line and then reveal the remaining elements by sliding them from behind this very line. But this is boring and not cool. That’s not how professionals work.
So, this is a common task in which the number of elements in one scene is from 2 to 5 times less than that in the second one. To handle such tasks, there’s an algorithm tested over the years of practice:
STEP #1
Identify key transition objects

Start with finding objects that are similar in color, shape and volume in both scenes. Well, the objects should be similar in at least two of these three parameters.
STEP #2
Create the transformation animation for these objects

This is the basis of the future transition as the remaining objects will comply with the dynamics and timing of these two objects. Don’t work on the details yet, it is only a rough version.
STEP #3
Add the largest objects to the animation

Now, add the largest details to the animation to make sure that your idea works and the transition looks organic. It’s important to animate them in the same direction and at the same speed as the main objects. This creates coherent movement.
STEP #4
Work on the key objects and details in the first scene

The transformation went well, and now it’s time to work on the details. Let’s start with the key objects. We’ve distorted them by animating the Path parameter so that they look more vibrant and flexible. We’ve also added the disappearance of the objects in the first scene using a mask.
STEP #5
Add the remaining elements of the second scene

Now that the entire basis is ready, we can add all the small details from the second scene. As the next step, we can texture the scene, add little highlights and so on. And that’s all.
Everything seems to be quite simple but, in fact, the amount of work would significantly increase if we changed the order of work on morphing just a little bit. Let’s summarize the key rules for morphing in this kind of scenes:
- Start with identifying pairs of the most similar objects in both scenes. Ideally, they should be similar in shape, color, volume/mass.
- Don’t choose too many key objects. If you choose more than 1 to 3 pairs, you risk wasting time and digging deeper and deeper into the details of animation even before you know whether your idea is good at all and what your morphing looks like.
- Think about the path of these objects during morphing. It should be simple and clear.
- Keep expanding your morphing from the largest and least detailed objects. Work on the smallest elements last.
Want to know more about animation?
The Importance of Motion Graphics in Web Design
Through the course of this article, we’ll take you through why motion graphics have become a staple in web design, and why it is integral to crafting an engaging user experience! Since animated movies came to the fore in the dawn of the 20th century, the technology that drives animation, visual effects and motion graphics […]
Speed Lines with Shape Layers in After Effects Tutorial
In this short After Effects tutorial I’ll show you how to easily create tapered speed lines using shape layers without any plugins. This is a pretty popular effect that you can use to convey feeling of superluminal speed, imitating portals and space things or just to add more dynamics to your scene transitions. How to […]
Auto-orient in After Effects
In this quick tip, we will show you how to deal with an auto-orient option in the transform settings in After Effects. Guide to Auto-orient in After Effects Auto-orient is a powerful feature in Adobe After Effects that allows you to automate the orientation of layers based on various parameters. Whether you’re creating motion graphics, […]


