Have you worked with hold keyframes? In that case, it’s a quicker way to make incredible animated textures in your projects.
Before we dive into the process of creating an animated texture, let’s understand what it is. In After Effects, an animated texture refers to the application of dynamic and evolving patterns or images onto visual elements, such as text, shapes, or footage. The Animated Texture with Hold Keyframes feature allows you to animate these textures over time, creating mesmerizing effects.
Hold Keyframe After Effects
Hold keyframe in After Effects allows you to freeze a particular value at a specific point in an animation. It ensures that the value remains constant until the next keyframe. With this feature, you can create more precise and controlled motion graphics in the English version of After Effects.
Creating an Animated Texture with Hold Keyframe
To create an animated texture with hold keyframes, follow these steps:
Step 1: Import the Texture
- Open After Effects and create a new composition.
- Import the texture you want to use by navigating to “File” > “Import” > “File.”
Step 2: Apply the Hold Keyframe
- Select the layer to which you want to apply the animated texture.
- Open the layer’s “Transform” properties by pressing “P” on your keyboard.
- Set the playhead to the desired starting point of the animation.
- Enable keyframe animation for the layer’s “Position” property.
- Move the playhead to the desired endpoint of the animation.
- Adjust the position of the layer to create the desired texture animation.
- Apply a hold keyframe to freeze the texture at the endpoint.
Applying an Animated Texture to a Visual Element
Now that you have created the animated texture, you can apply it to a visual element:
Step 1: Create or Import the Visual Element
- Create a new composition or import the visual element you want to apply the texture to.
Step 2: Pre-compose the Visual Element
- Select the visual element layer.
- Right-click and choose “Pre-compose.”
- Name the pre-comp and click “OK.”
Step 3: Apply the Animated Texture
- Drag and drop the pre-comp into the main composition.
- Select the pre-comp layer in the main composition.
- Set the blending mode of the pre-comp to “Overlay” or experiment with different blending modes to achieve the desired effect.
Adjusting Animated Texture Parameters
To refine your animated texture, you can adjust various parameters:
- Opacity: Control the transparency of the texture.
- Scale: Modify the scale of the texture to fit your visual element.
- Rotation: Rotate the texture to create dynamic motion.
- Blending Modes: Experiment with different blending modes for unique effects.
- Time Remapping: Manipulate the speed and timing of the texture animation.
Using Expressions with Animated Texture
Expressions in After Effects provide advanced control and automation. You can leverage expressions to enhance your animated texture:
- Looping: Use expressions to create seamless looping animations.
- Randomization: Add variability to the texture animation using random expressions.
- Reaction to Audio: Sync the texture animation with audio using audio-driven expressions.
Practical Examples and Applications
Here are a few practical examples where Animated Texture with Hold Keyframes can be used:
- Kinetic Typography: Apply animated textures to text elements for dynamic title sequences.
- Motion Graphics: Enhance logo animations or create unique backgrounds using textures.
- VFX Compositing: Use textures to blend and integrate visual elements seamlessly.
- Experimental Art: Create abstract or surreal animations by animating textures on shapes or footage.
Creative Tips and Insights
- Experiment with various textures to achieve different visual styles and moods.
- Combine multiple animated textures for complex and layered effects.
- Apply masks or use track mattes to control where the texture is visible.
- Utilize adjustment layers to fine-tune the overall look of your animation.
What is the Motion Beast course?
This is the must-see course for any Motion Designer. It lays the foundation for all aspects of modern motion design and covers every topic from AE basics to character rigging and frame by frame animation.
The course will help you overcome AE-related barriers and fears which are standing between you and the wonderful world of animation and motion design
ONLINE COURSE
Motion Beast
Breakdown of Frame-by-Frame Animation
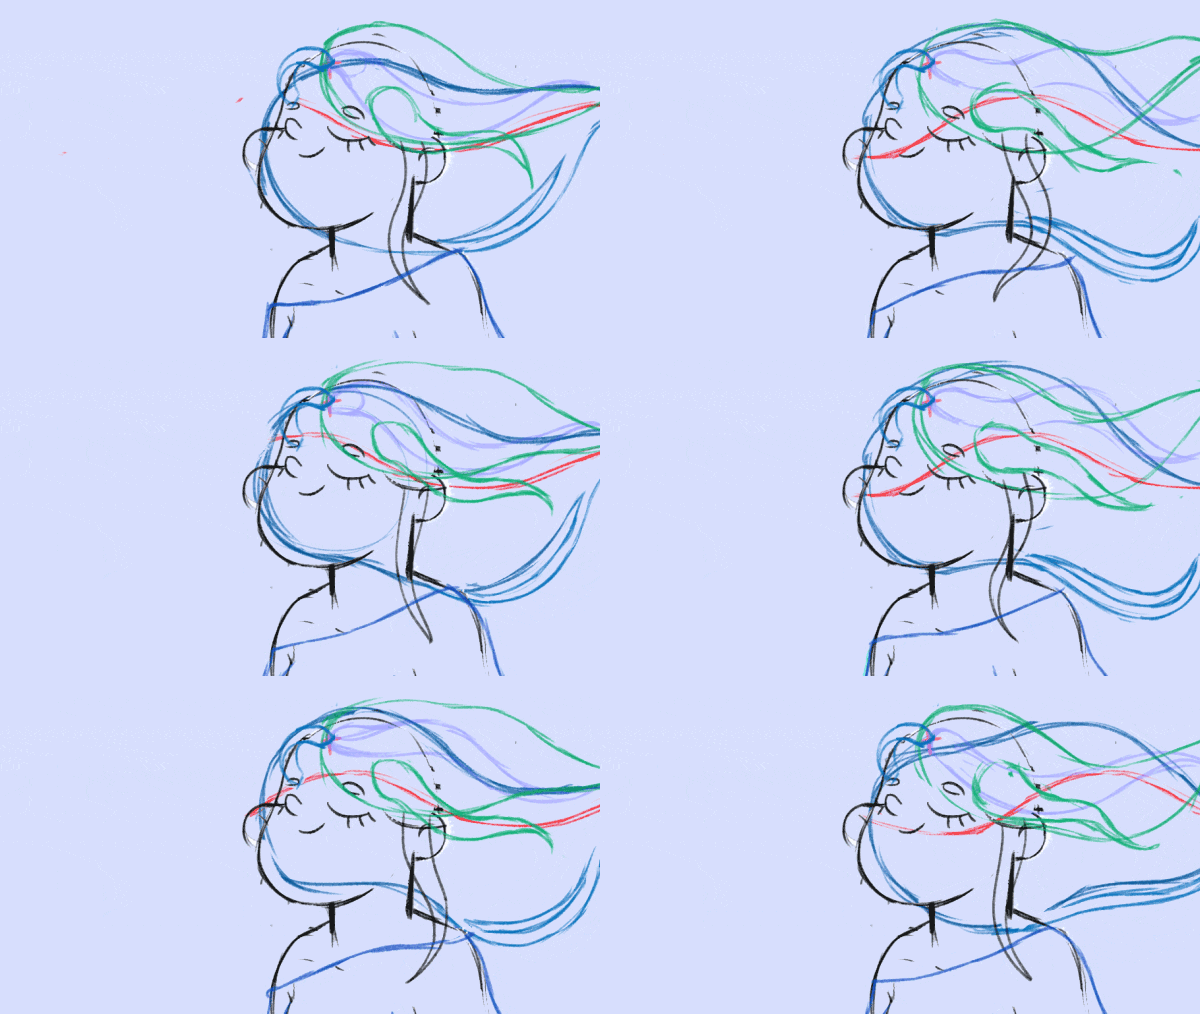
In this short frame-by-frame animation tutorial, I’ll show you how to create and animate an illustration from scratch. We’ll start with a sketch and will go all the way up to post-production. To do this you’ll only need Photoshop for drawing and for frame-by-frame animation and After Effects to put it all together nicely and […]
Exponential scale in After Effects
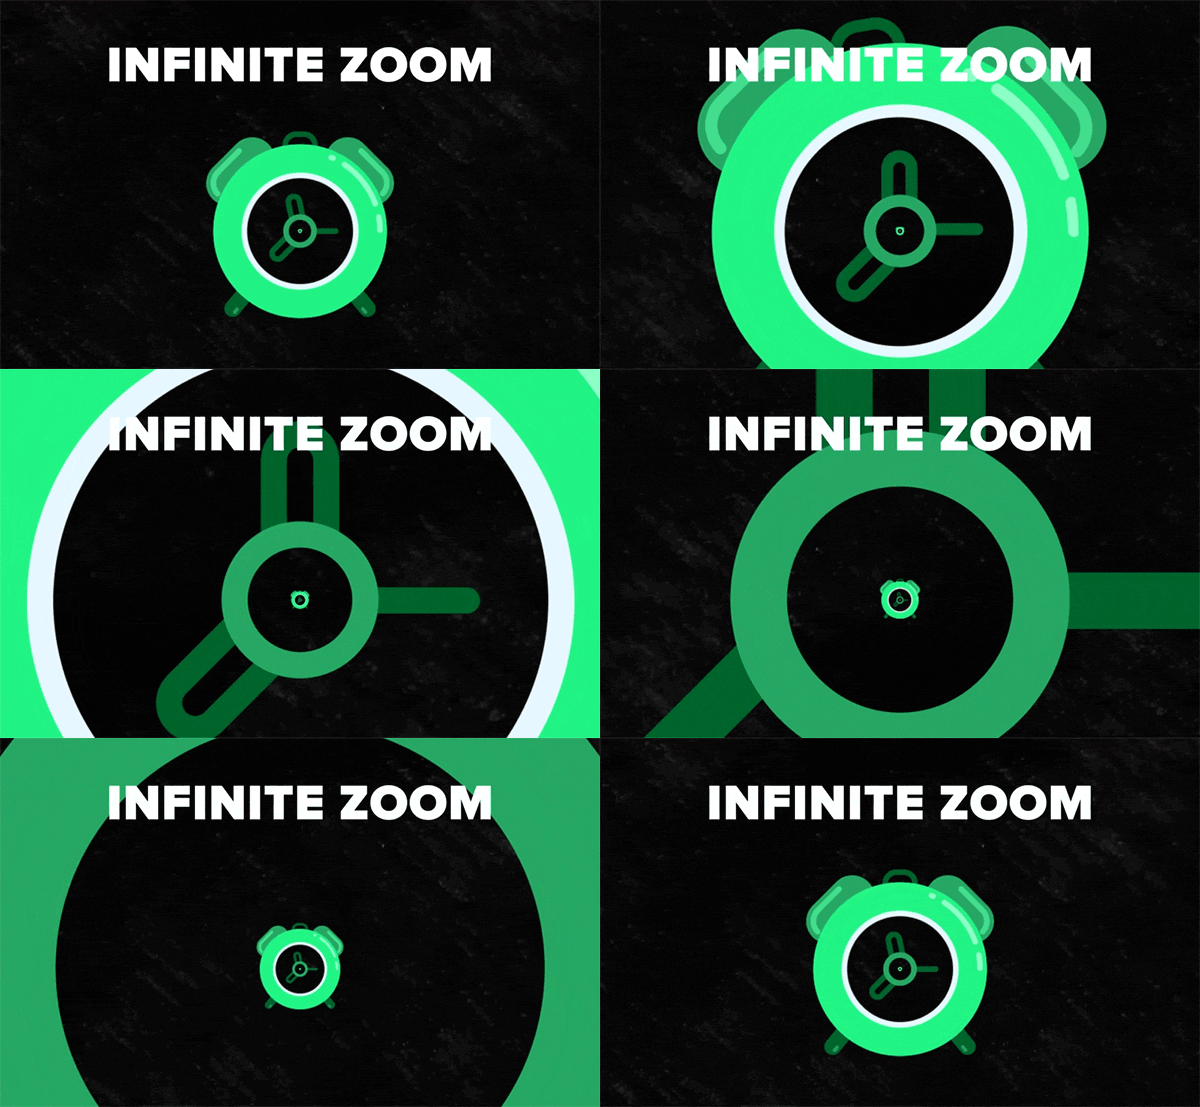
How often you want to achieve the exponential scale. You’ve probably tried to do that with graph editor, but it’s almost impossible. In that case, we’ve prepared the two ways how to do it quickly.Right-click on selected keyframes, go to keyframe assistant, and choose an exponential scale. That’s it!Another way is to use the expressionWhich […]
Running Chair Animation Breakdown in After Effects
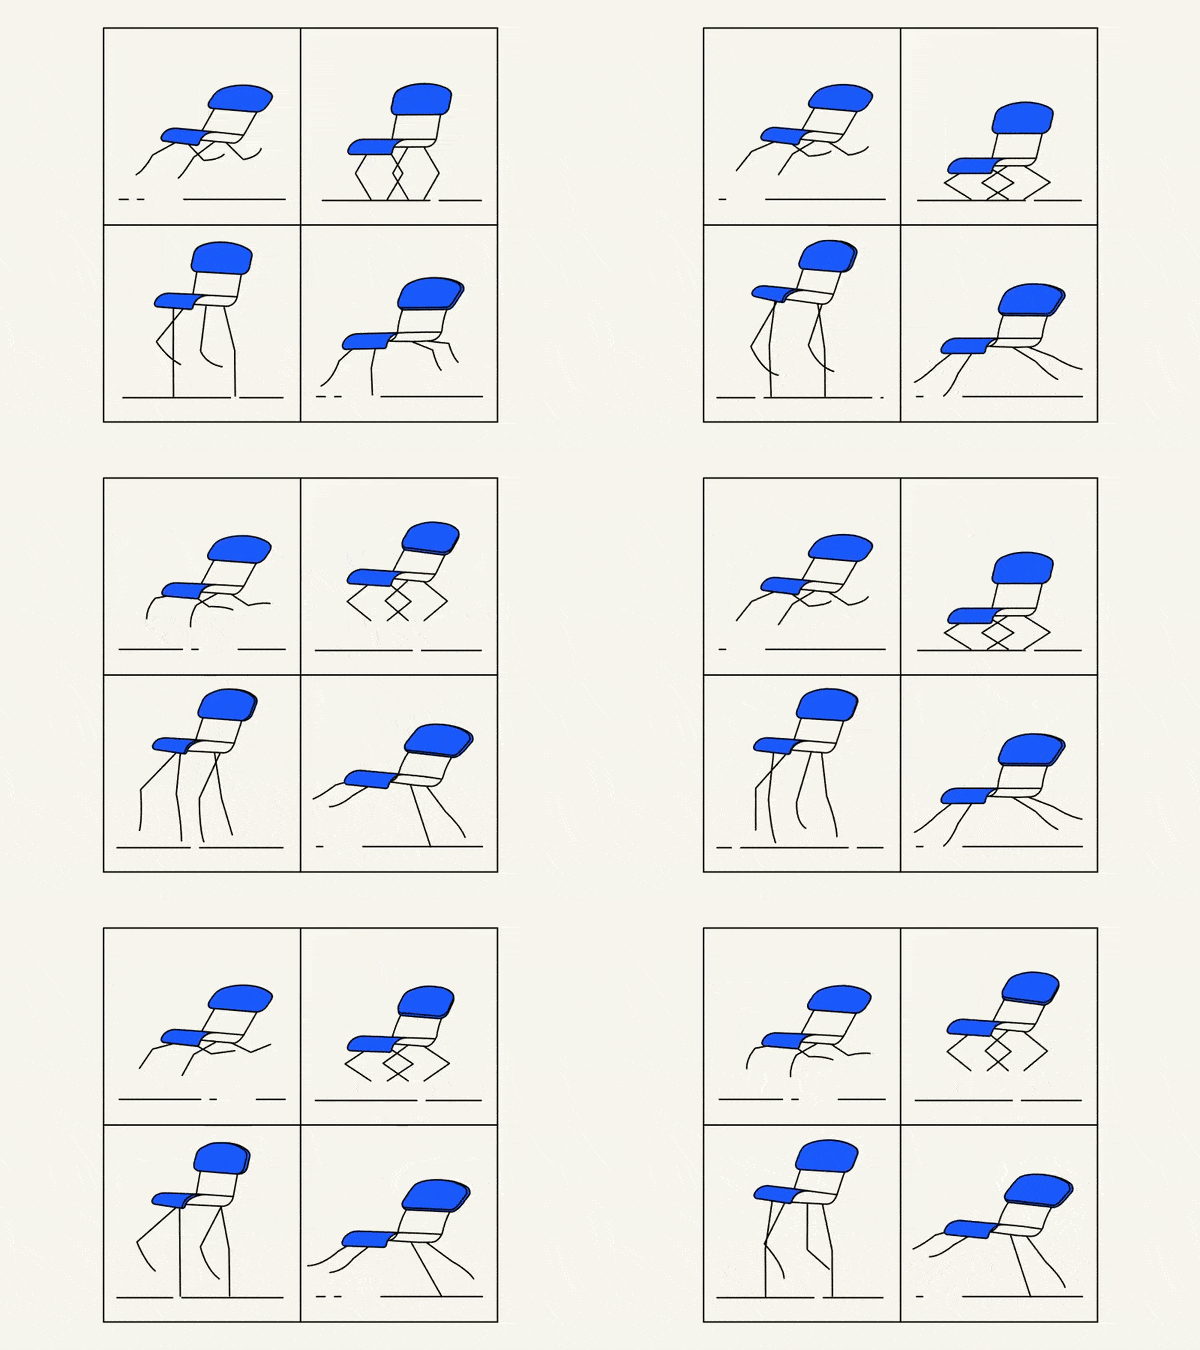
New “How to” create a funny chair run cycle in After Effects.Step-by-Step Guide: Runnning Chair AnimationThe Running Chair Animation in After Effects is a creative and dynamic effect that can add visual interest and energy to your projects. It involves animating a chair to simulate movement as if it is running or sliding across the […]


