The text inside After effects is a great tool. It’s pretty similar to the shape modifiers. Today we will learn the power of wiggly selector.
Creating Wiggly Text in After Effects – A Step-by-Step Guide
Welcome to this step-by-step guide on how to create wiggly text in After Effects! In this tutorial, we’ll break down the process into easy-to-follow steps, making it accessible for both beginners and experienced motion graphics artists.
Step 1: Open After Effects and Create a New Composition
- Launch After Effects and start a new project.
- Create a new composition by selecting “Composition” in the menu bar, then choose “New Composition.”
- Set your desired settings, such as resolution and duration, and click “OK.”
Step 2: Add Text to Your Composition
- Select the “T” icon from the toolbar to create a new text layer.
- Type your desired text, and choose your preferred font and size.
Step 3: Enable Text Animator
- In the Timeline panel, expand the text layer properties.
- Look for the “Animate” dropdown menu and select the property you want to animate, such as “Position.”
Step 4: Add an Expression to the Property
- Next to the animated property, click on the stopwatch icon.
- Hold down the “Alt” key (Option key on Mac) and click on the stopwatch to open the expressions editor.
- Type the following expression:
wiggle(freq, amp)
Step 5: Customize the Expression
- Replace “freq” with the frequency of the wiggle (how many wiggles per second) and “amp” with the amplitude (how much the text wiggles). For example:
wiggle(3, 20) - Click outside the expressions editor to apply the expression.
Step 6: Preview Your Animation
- Press the spacebar to preview your wiggly text animation.
- Adjust the frequency and amplitude values to achieve the desired effect.
Step 7: Fine-Tune Your Animation
- To fine-tune your animation, adjust keyframes in the timeline.
- Experiment with other text properties like opacity, scale, or rotation for additional effects.
Step 8: Render and Export
- Once satisfied, click on “Composition” in the menu bar.
- Select “Add to Render Queue” and configure your render settings.
- Click “Render” to export your wiggly text animation.
Conclusion
Congratulations! You’ve successfully created wiggly text in After Effects. This playful effect can add a dynamic touch to your motion graphics projects. Have fun experimenting with different settings and bring your text to life!
What is the Motion Beast course?
This is the must-see course for any Motion Designer. It lays the foundation for all aspects of modern motion design and covers every topic from AE basics to character rigging and frame by frame animation.
The course will help you overcome AE-related barriers and fears which are standing between you and the wonderful world of animation and motion design
ONLINE COURSE
Motion Beast
Breakdown of Frame-by-Frame Animation
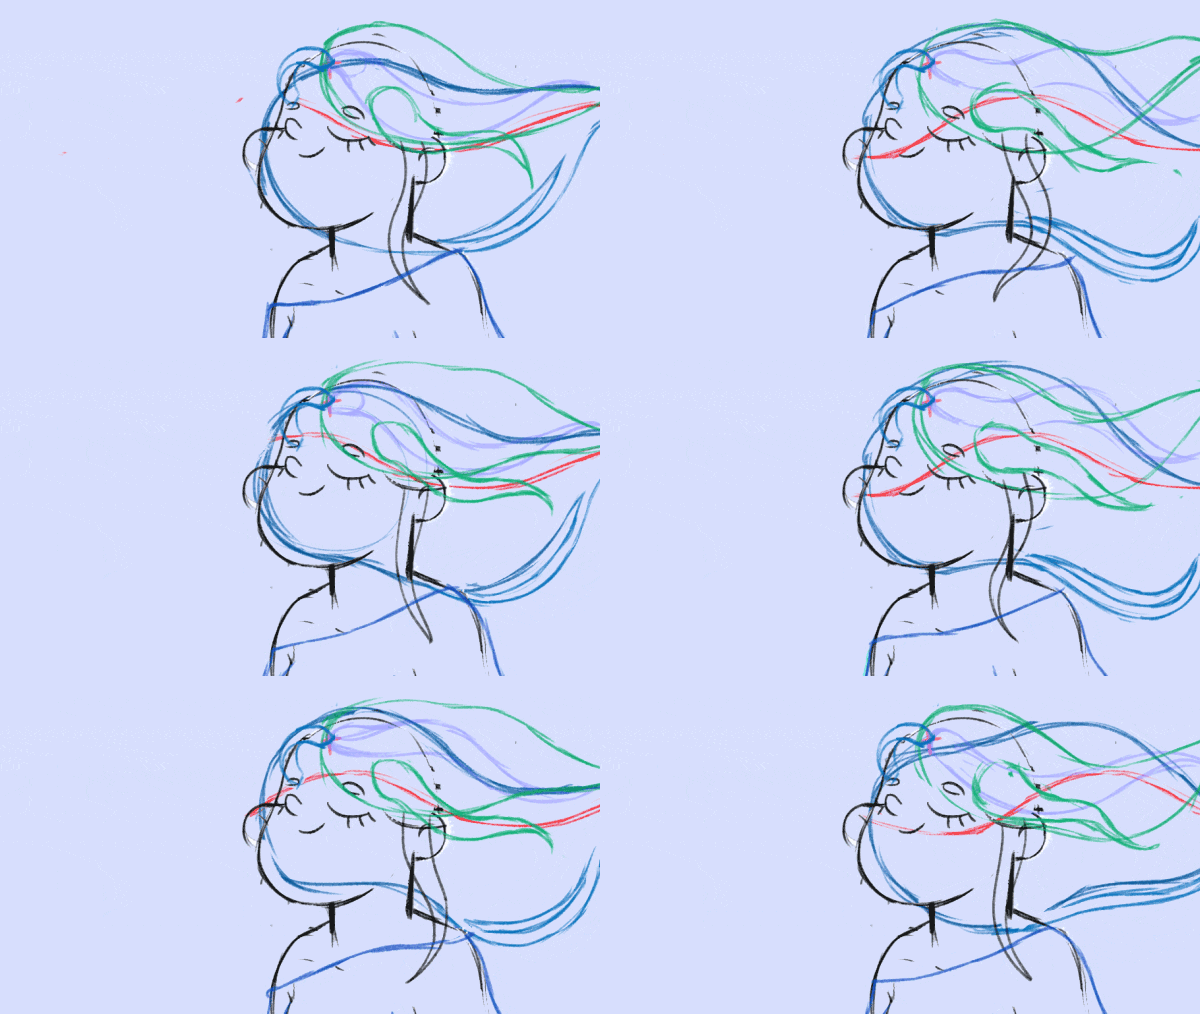
In this short frame-by-frame animation tutorial, I’ll show you how to create and animate an illustration from scratch. We’ll start with a sketch and will go all the way up to post-production. To do this you’ll only need Photoshop for drawing and for frame-by-frame animation and After Effects to put it all together nicely and […]
Exponential scale in After Effects
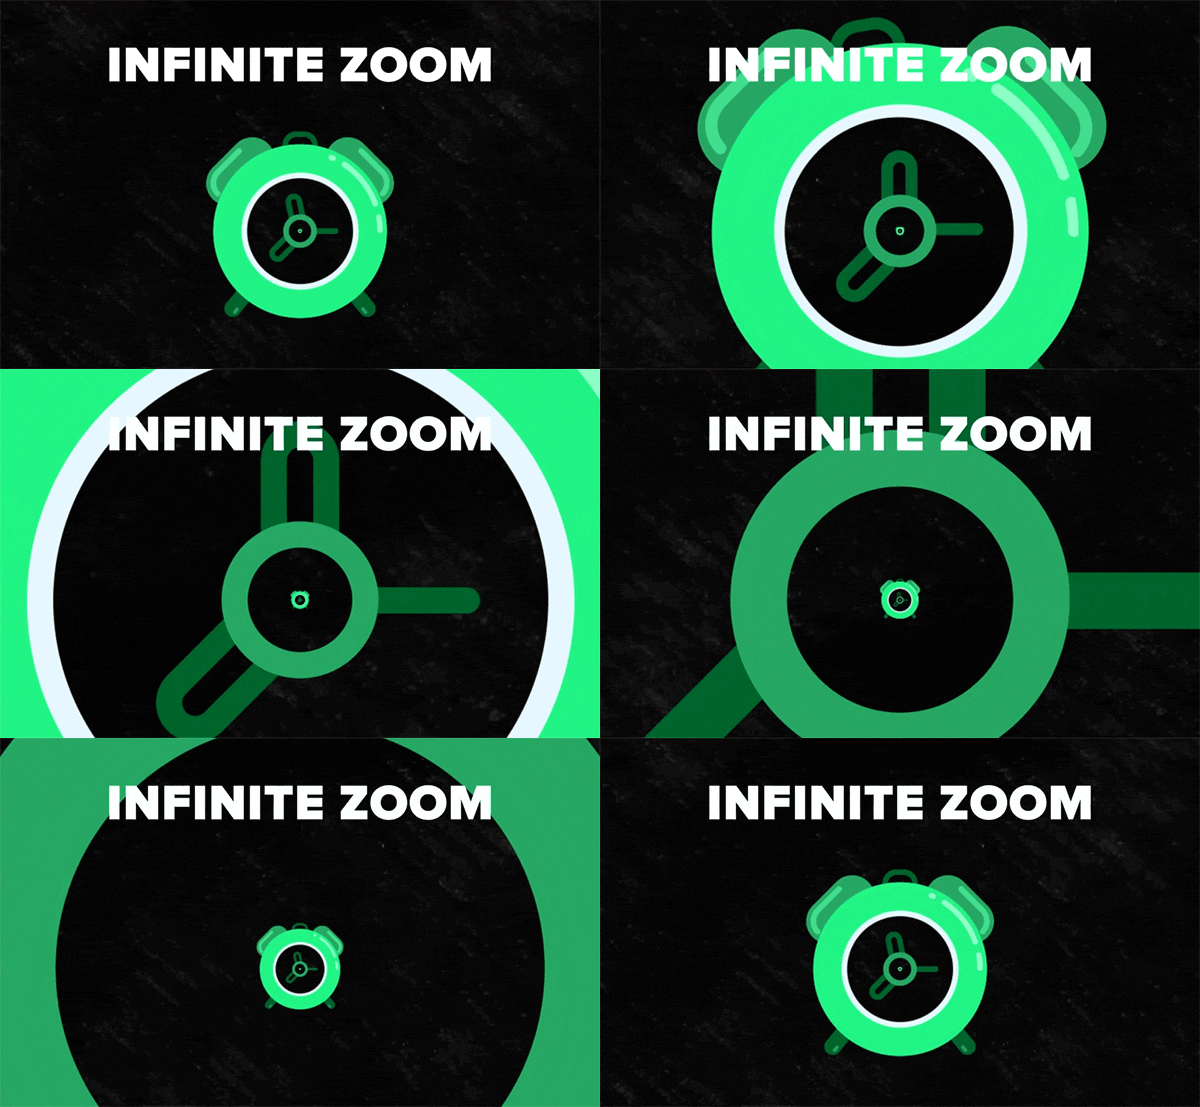
How often you want to achieve the exponential scale. You’ve probably tried to do that with graph editor, but it’s almost impossible. In that case, we’ve prepared the two ways how to do it quickly.Right-click on selected keyframes, go to keyframe assistant, and choose an exponential scale. That’s it!Another way is to use the expressionWhich […]
Running Chair Animation Breakdown in After Effects
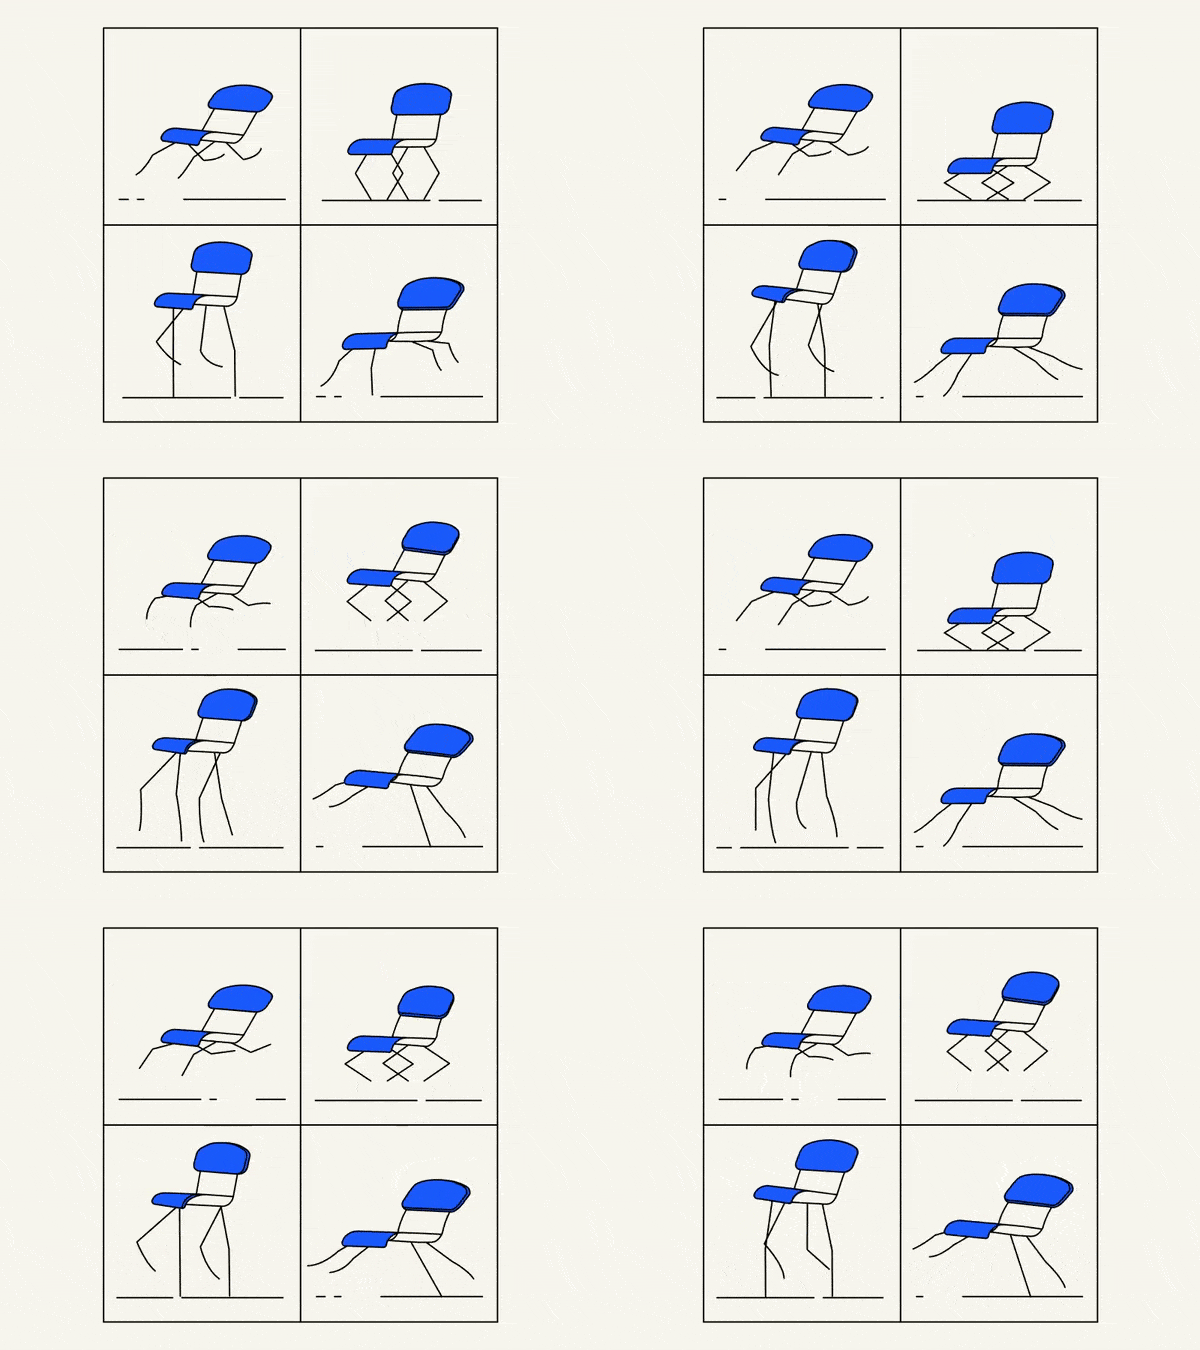
New “How to” create a funny chair run cycle in After Effects.Step-by-Step Guide: Runnning Chair AnimationThe Running Chair Animation in After Effects is a creative and dynamic effect that can add visual interest and energy to your projects. It involves animating a chair to simulate movement as if it is running or sliding across the […]


